

How to Tell If an ID Image Has Been Manipulated

The most useful signs of manipulated ID images are inconsistencies between parts of the same file: mismatched fonts, shifted fields, portrait halos, broken security patterns, conflicting lighting, localized compression, suspicious file history, and identity details that disagree across independent sources. No single sign proves fraud, because scanning, screenshots, camera processing, glare, and messaging compression can create similar artifacts.
The safest approach is to treat every red flag as a lead. Preserve the original file, compare it with the exact document version, examine several independent signals, and escalate consequential cases to an appropriate trained or official verification process.
Quick Answer: What Are the Signs of a Manipulated ID Image?
A manipulated ID image may contain visible editing artifacts, inconsistent document logic, or file evidence that does not match the claimed capture process. The strongest cases usually combine several different kinds of evidence rather than several symptoms caused by one low-quality upload.
| Signal | Where to inspect | What it may indicate | Common innocent cause | Best next check |
|---|---|---|---|---|
| Font mismatch | Names, dates, numbers, repeated characters | Replaced text field | Resizing or compression | Compare identical characters and an exact genuine template |
| Layout error | Margins, field positions, card proportions | Rebuilt or shifted document elements | Perspective correction | Correct perspective and compare the same issue version |
| Data conflict | Visible fields, MRZ, barcode, dates | Altered identity data | OCR error or unusual jurisdiction format | Validate with an approved reference or reader |
| Portrait halo | Hairline, jaw, shoulders, photo box | Pasted or replaced portrait | Sharpening or shallow focus | Inspect pattern and safeguard continuity |
| Synthetic face clue | Eyes, skin, ears, hair, facial boundaries | Generated or morphed portrait | Makeup, lighting, or low resolution | Compare with a trusted fresh capture |
| Broken background pattern | Lines, seals, ghost images, laminate | Erasure, inpainting, or overlay | Glare or card wear | Compare adjacent pattern geometry and physical evidence |
| Lighting conflict | Face, card, glare, surrounding scene | Composite made from different sources | Mixed materials or multiple light sources | Review reflections and capture context |
| Local pixel difference | Changed field or photo area | Selective editing or repeated resaving | Phone enhancement or app compression | Compare the original file and neighboring regions |
| Cloned texture | Background around text or portrait | Copy-paste repair or object removal | Legitimate repeating security artwork | Look for exact repetition and broken line flow |
| Metadata anomaly | EXIF, software, timestamps, dimensions | Unexpected processing history | Screenshot, scanner, conversion, or metadata stripping | Compare with the claimed submission path |
| Screen recapture | Entire frame and borders | Image displayed and photographed again | Legitimate remote capture workflow | Request an approved fresh capture |
| Cross-source conflict | ID, application, selfie, issuer data | Stolen, synthetic, or mismatched identity | Data-entry error or name convention | Resolve through an authorized secondary check |
This table is a triage tool, not an authentication result. A reviewer should ask whether the signals are independent, whether a benign process could explain them, and what evidence would confirm or refute the concern.
First, Identify Which Problem You Are Actually Checking
People often use “fake ID” to describe several different problems. They require different evidence and cannot all be detected from pixels alone.
| Problem | What it means | What image inspection may reveal | What else is needed |
|---|---|---|---|
| Manipulated ID image | A digital image of a document was edited or composited | Local pixel, font, portrait, metadata, and pattern inconsistencies | Original file and corroborating document checks |
| Counterfeit document | The credential itself imitates an official document | Incorrect design, print, proportions, security features, or data format | Physical examination or approved document authentication |
| Stolen genuine ID | A real credential is used by someone else | Often nothing suspicious in the document image | Rightful-holder and trusted identity comparison |
| Synthetic identity | Real and invented identity attributes are combined | Conflicting fields, unusual portrait, or repeated patterns across submissions | Database, behavioral, and network-level checks |
| Face morph | Two or more faces are blended into one portrait | Texture or boundary artifacts may be visible | Morph detection and a second trusted image |
A genuine-looking document can still be misused. Conversely, an image that looks odd after being scanned or compressed may represent a legitimate document.
The first question should therefore be: are you checking the file, the physical credential, the identity claim, or the relationship between the credential and the presenter? A still-image tool addresses only part of that problem.
Before You Inspect: Preserve the Best Evidence
Image quality determines which clues remain available. If possible and permitted, obtain the original uploaded file rather than a screenshot, messaging-app copy, or image pasted into a document.
Do not crop, annotate, resave, or repeatedly convert the only copy before analysis. Those actions can strip metadata, change compression, and create new artifacts that are difficult to distinguish from earlier editing.
For a consequential business review, follow the organization’s evidence-handling rules. Record the source, receipt time, case identifier, and file hash when appropriate, and keep a separate working copy for annotations.
Identity documents contain high-risk personal data. Use data minimization, limit access, and do not upload a file to an external service unless you are authorized to process it and the service has been approved for that use.
Finally, obtain the correct comparison reference. Document designs vary by country, state, credential type, issue year, and version, so a generic image found in search results is not a reliable template.
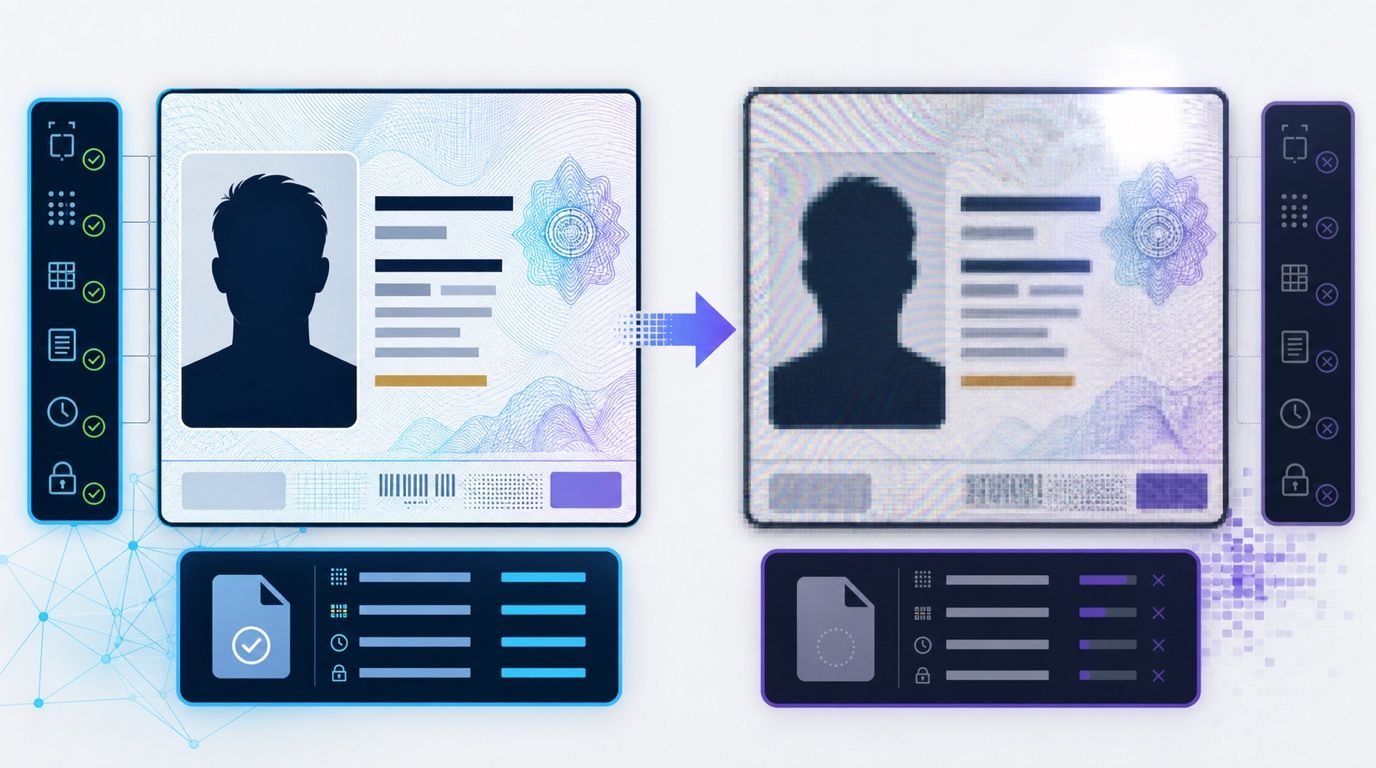
12 Signs an ID Image May Have Been Manipulated
The following checks move from visible typography and layout to portrait, pixel, file, and identity-context signals. None should be interpreted in isolation.
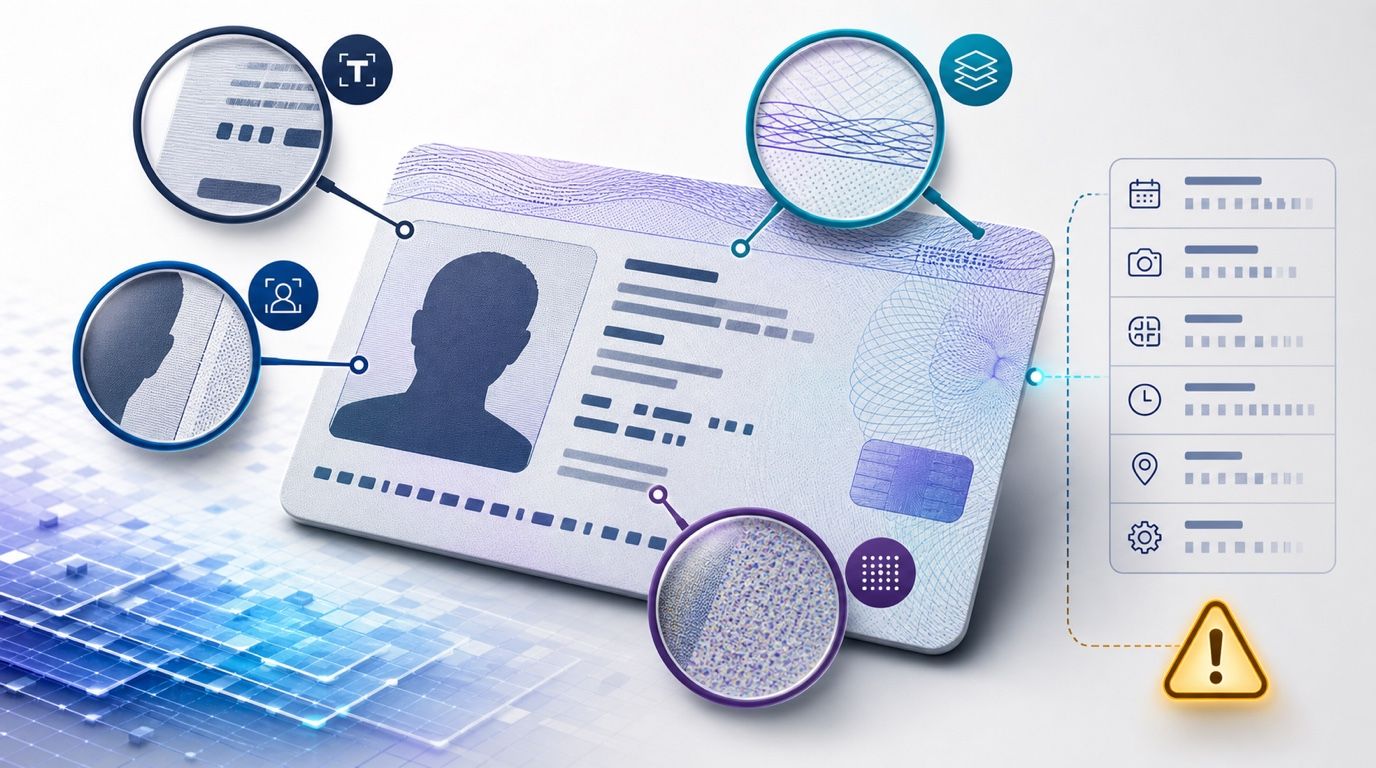
1. Font, Weight, Baseline, or Character-Shape Mismatches
Edited fields often fail at small typographic details. Compare the shape of a repeated 3, 8, A, or R in the suspicious field with the same character elsewhere on the document.
Look at stroke weight, spacing, baseline, anti-aliasing, capitalization, and the distance between labels and values. A replacement may use the right general font family while getting these details wrong.
Compression and rescaling can also make identical text look uneven. The signal becomes more meaningful when the mismatch is confined to one field and aligns with other evidence, such as a different background texture.
2. Field Alignment, Layout, or Proportion Errors
Official credentials use controlled layouts. Names, dates, identification numbers, portraits, seals, and machine-readable regions should follow the correct geometry for that exact document version.
Watch for one field sitting slightly too high, inconsistent left margins, unusual line spacing, or a portrait box with the wrong aspect ratio. Also check whether the overall card or passport page has been stretched.
Perspective can create apparent misalignment in a handheld photo. Correct the viewing angle mentally or with an approved review tool before treating geometry as evidence.
3. MRZ, Barcode, Date, or Field-Logic Conflicts
The visible text is only one representation of the identity data. Passports and some identity documents repeat information in a machine-readable zone, barcode, chip, ghost image, or other encoded area.
Compare repeated names, document numbers, nationality codes, birth dates, sex markers, issue dates, and expiry dates. Look for impossible timelines, incorrect field lengths, invalid character sets, or checksum conflicts when an authorized validation system is available.
A barcode that produces data is not automatically genuine. The encoded values must agree with the document and conform to the expected format for that jurisdiction and version.
4. Portrait Halos and Abrupt Sharpness Changes
Photo substitution can leave a thin bright or dark halo around the hair, jaw, ears, neck, or shoulders. The portrait may also appear much sharper, smoother, noisier, or differently colored than the card around it.
Inspect whether printed lines, stamps, embossing, laminate artwork, or ghost-image elements continue correctly through and around the portrait. A replacement layer may interrupt them or appear to sit above them.
Phone sharpening and portrait-mode processing can also create edge halos. Compare the suspected boundary with other high-contrast edges in the same file.
5. Face Morph or Synthetic Portrait Artifacts
A face morph blends characteristics from multiple people, while a synthetic portrait may be generated without a real subject. Possible artifacts include inconsistent skin texture or color and unusual areas around the iris, nostrils, lips, eyebrows, ears, and hairline.
Modern morphs may have no obvious visual defect. Their detectability can depend heavily on the software that created them and whether the detection system has seen similar examples.
A second trusted image can be more informative than a single-image guess. Where policy and law permit, compare the document portrait with a controlled fresh capture rather than another unverified social-media image.
6. Broken Security-Pattern Continuity
Identity documents commonly use dense lines, microprint, seals, ghost images, stamps, and laminate patterns that cross important regions. Editing a name or portrait may break the flow, duplicate part of a pattern, or change its line quality.
Trace lines into and out of the suspicious region. Look for abrupt endings, mirrored segments, inconsistent spacing, or a pattern that continues behind one field but stops around another.
A normal photo cannot reproduce every physical safeguard. UV response, raised printing, optically variable ink, holographic movement, laser engraving, and chip behavior require appropriate physical or specialist inspection.
7. Lighting, Shadow, Reflection, or Perspective Conflicts
A composited portrait or document layer may preserve lighting from a different source. Compare the direction and softness of shadows, highlights in the eyes or glasses, color temperature, and reflected environment.
Also compare perspective. Text, photo, hologram, and card edges should occupy a compatible plane unless the credential is bent or the laminate creates optical distortion.
Mixed materials can legitimately reflect light differently. A glossy portrait overlay and matte card background, for example, may not share the same glare pattern.
8. Localized Compression, Noise, Blur, or Sharpening
Selective editing can make one region’s pixels behave differently from its surroundings. A birth date may contain blockier compression, a face may be unusually smooth, or one text line may show sharper edges than nearby fields.
Compare similar colors and details across the image at the same zoom. The goal is not to find any noise, but to find a localized difference that follows the shape of a field or inserted object.
Automatic phone processing, scanner software, and messaging apps can introduce uneven enhancement. The original file is essential for separating capture artifacts from later manipulation.
9. Repeated Textures, Cloned Patterns, or Erased-Field Ghosting
Removing text or a portrait requires rebuilding the background. Copy-paste repair can leave identical noise clusters, repeated line segments, mirrored artwork, smudges, or rectangular regions with unnaturally uniform texture.
Look at how the pattern enters and leaves the suspected area. Repetition becomes more suspicious when two complex patches match exactly rather than sharing only the intended design rhythm.
Security backgrounds are deliberately repetitive, so pattern similarity alone is weak evidence. Combine it with field alignment, edge, and pixel-level differences.
10. EXIF, Software, Timestamp, or Provenance Anomalies
File metadata may describe the capture device, software, dimensions, timestamps, orientation, or processing history. Compare those details with the claimed submission route.
An editing-software tag indicates that the file passed through software; it does not prove fraudulent editing. Scanners, PDF exporters, photo organizers, and legitimate redaction workflows may add similar tags.
Content Credentials based on C2PA can provide tamper-evident provenance statements when present and valid. They record aspects of file history, but they do not decide whether the person, document, or identity claim is genuine.
Missing EXIF or C2PA is also not proof. Screenshots, messaging platforms, exports, and ordinary image processing may remove metadata.
11. Screen-Recapture or Presentation-Attack Clues
A fraud attempt may present an image of an ID on another screen and photograph that display. Possible clues include moire bands, visible subpixel grids, cursor fragments, window borders, screen-edge perspective, or reflections that belong to a monitor.
A screen recapture also changes the entire file’s noise and color structure, which can hide earlier edits. It may be used to flatten a composite into one apparently consistent image.
Some legitimate remote workflows also involve screens or scanned copies. Treat recapture evidence as a reason to request a fresh approved capture, not as a final conclusion.
12. Cross-Source Identity Inconsistencies
The strongest warning sign may not be visible in the pixels. Compare the document with the application data, trusted prior records, a controlled selfie or live capture, and issuer information where authorized.
A visually convincing file can show a genuine document belonging to someone else. It can also support a synthetic identity whose name, address, phone, payment method, device, and behavior do not form a credible whole.
Independent disagreement carries more weight than several artifacts caused by the same compression event. Resolve simple data-entry and naming-convention differences before escalating.
Which Red Flags Are Strong Evidence—and Which Are Weak?
Evidence strength depends on specificity, independence, and the quality of the benign explanation. A clue is stronger when it is difficult to produce accidentally and is confirmed through a separate source.
| Evidence level | Examples | False-positive risk | Appropriate response |
|---|---|---|---|
| Weak clue | Missing metadata, general blur, one odd edge, unusual glare | High | Request a better original and recheck |
| Pattern worth review | One field has different font, noise, and background continuity | Medium | Compare exact template and neighboring fields |
| Corroborated anomaly | Altered field also conflicts with MRZ or encoded data | Lower | Route to trained document review |
| Independent mismatch | Portrait, application data, and trusted capture disagree | Lower | Follow authorized identity escalation process |
| Official contradiction | Issuer or approved database cannot validate the credential | Context-dependent but significant | Apply organizational policy and appropriate official review |
Several correlated clues are not always independent evidence. A messaging app might simultaneously remove EXIF, reduce resolution, create blocks, and sharpen edges, producing four symptoms from one benign transformation.
The reviewer should ask what single process could explain all observations. If a benign process fits, obtain a better source before making a consequential decision.
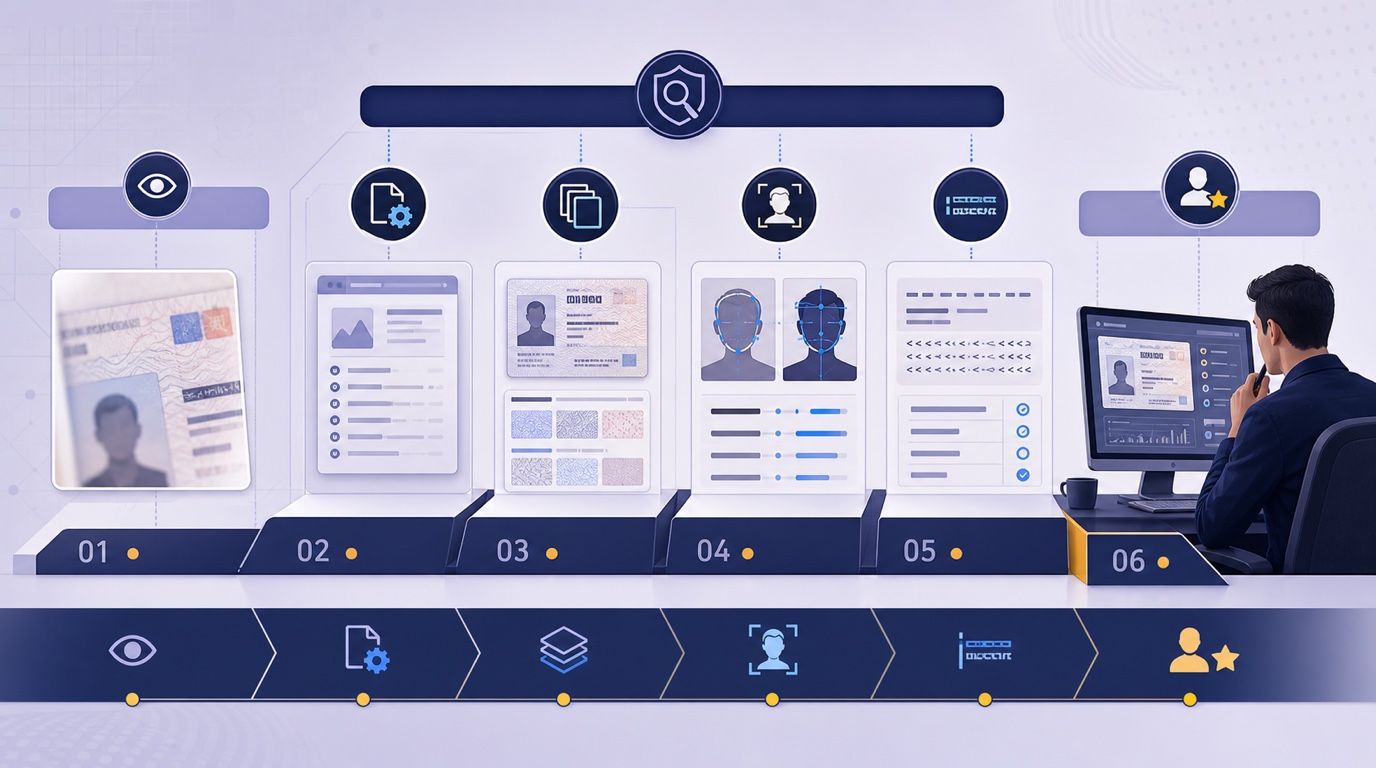
Common False Alarms That Can Make a Genuine ID Image Look Edited
Messaging and Social-Platform Processing
Messaging services often resize images, recompress them, change color profiles, and remove EXIF. The resulting copy may contain blocks around text, ringing near edges, and no camera history.
Phone-Camera Enhancement
Modern phones apply HDR, denoising, sharpening, portrait segmentation, glare correction, and perspective adjustment. These processes can produce halos, inconsistent local texture, and unusually crisp text.
Scanning and File Conversion
Scanner software may deskew, clean backgrounds, enhance text, or save a document through a PDF workflow. Converting that PDF back to an image creates another compression and resampling layer.
Laminate, Hologram, Wear, and Capture Conditions
Reflective safeguards can obscure fields or create color changes that move with the viewing angle. Low light, motion blur, worn surfaces, scratches, and bent cards can interrupt lines without digital alteration.
Document Version Differences
Governments update layouts and security features. An older valid credential may differ from the newest example, while provisional or special-status documents may use another design.
Legitimate Redaction or Accessibility Processing
A person may redact nonessential data before sharing an informal copy, or software may enlarge and enhance the image for readability. That file may be unsuitable for formal verification, but “edited” is not the same conclusion as “fraudulent.”
How to Check an ID Image With Lynote Deepfake Detector
Lynote Deepfake Detector can provide an image-level starting point when an ID portrait or the wider image may contain AI-generated or deepfake signals. It does not authenticate the credential, verify the holder, query an issuer, validate a barcode, or perform KYC.
Before uploading, make sure you are authorized to process the file and that online analysis is permitted by your organization and applicable rules. Remove unnecessary personal data only when doing so does not destroy the evidence required for the authorized review.
Step 1. Upload the Clearest Image
Open Lynote Deepfake Detector and upload the clearest original image available. It accepts JPG, JPEG, PNG, and WebP files up to 10 MB.
An original file generally preserves more useful pixel and metadata evidence than a screenshot. Do not use a public or third-party ID image merely to experiment with the tool.
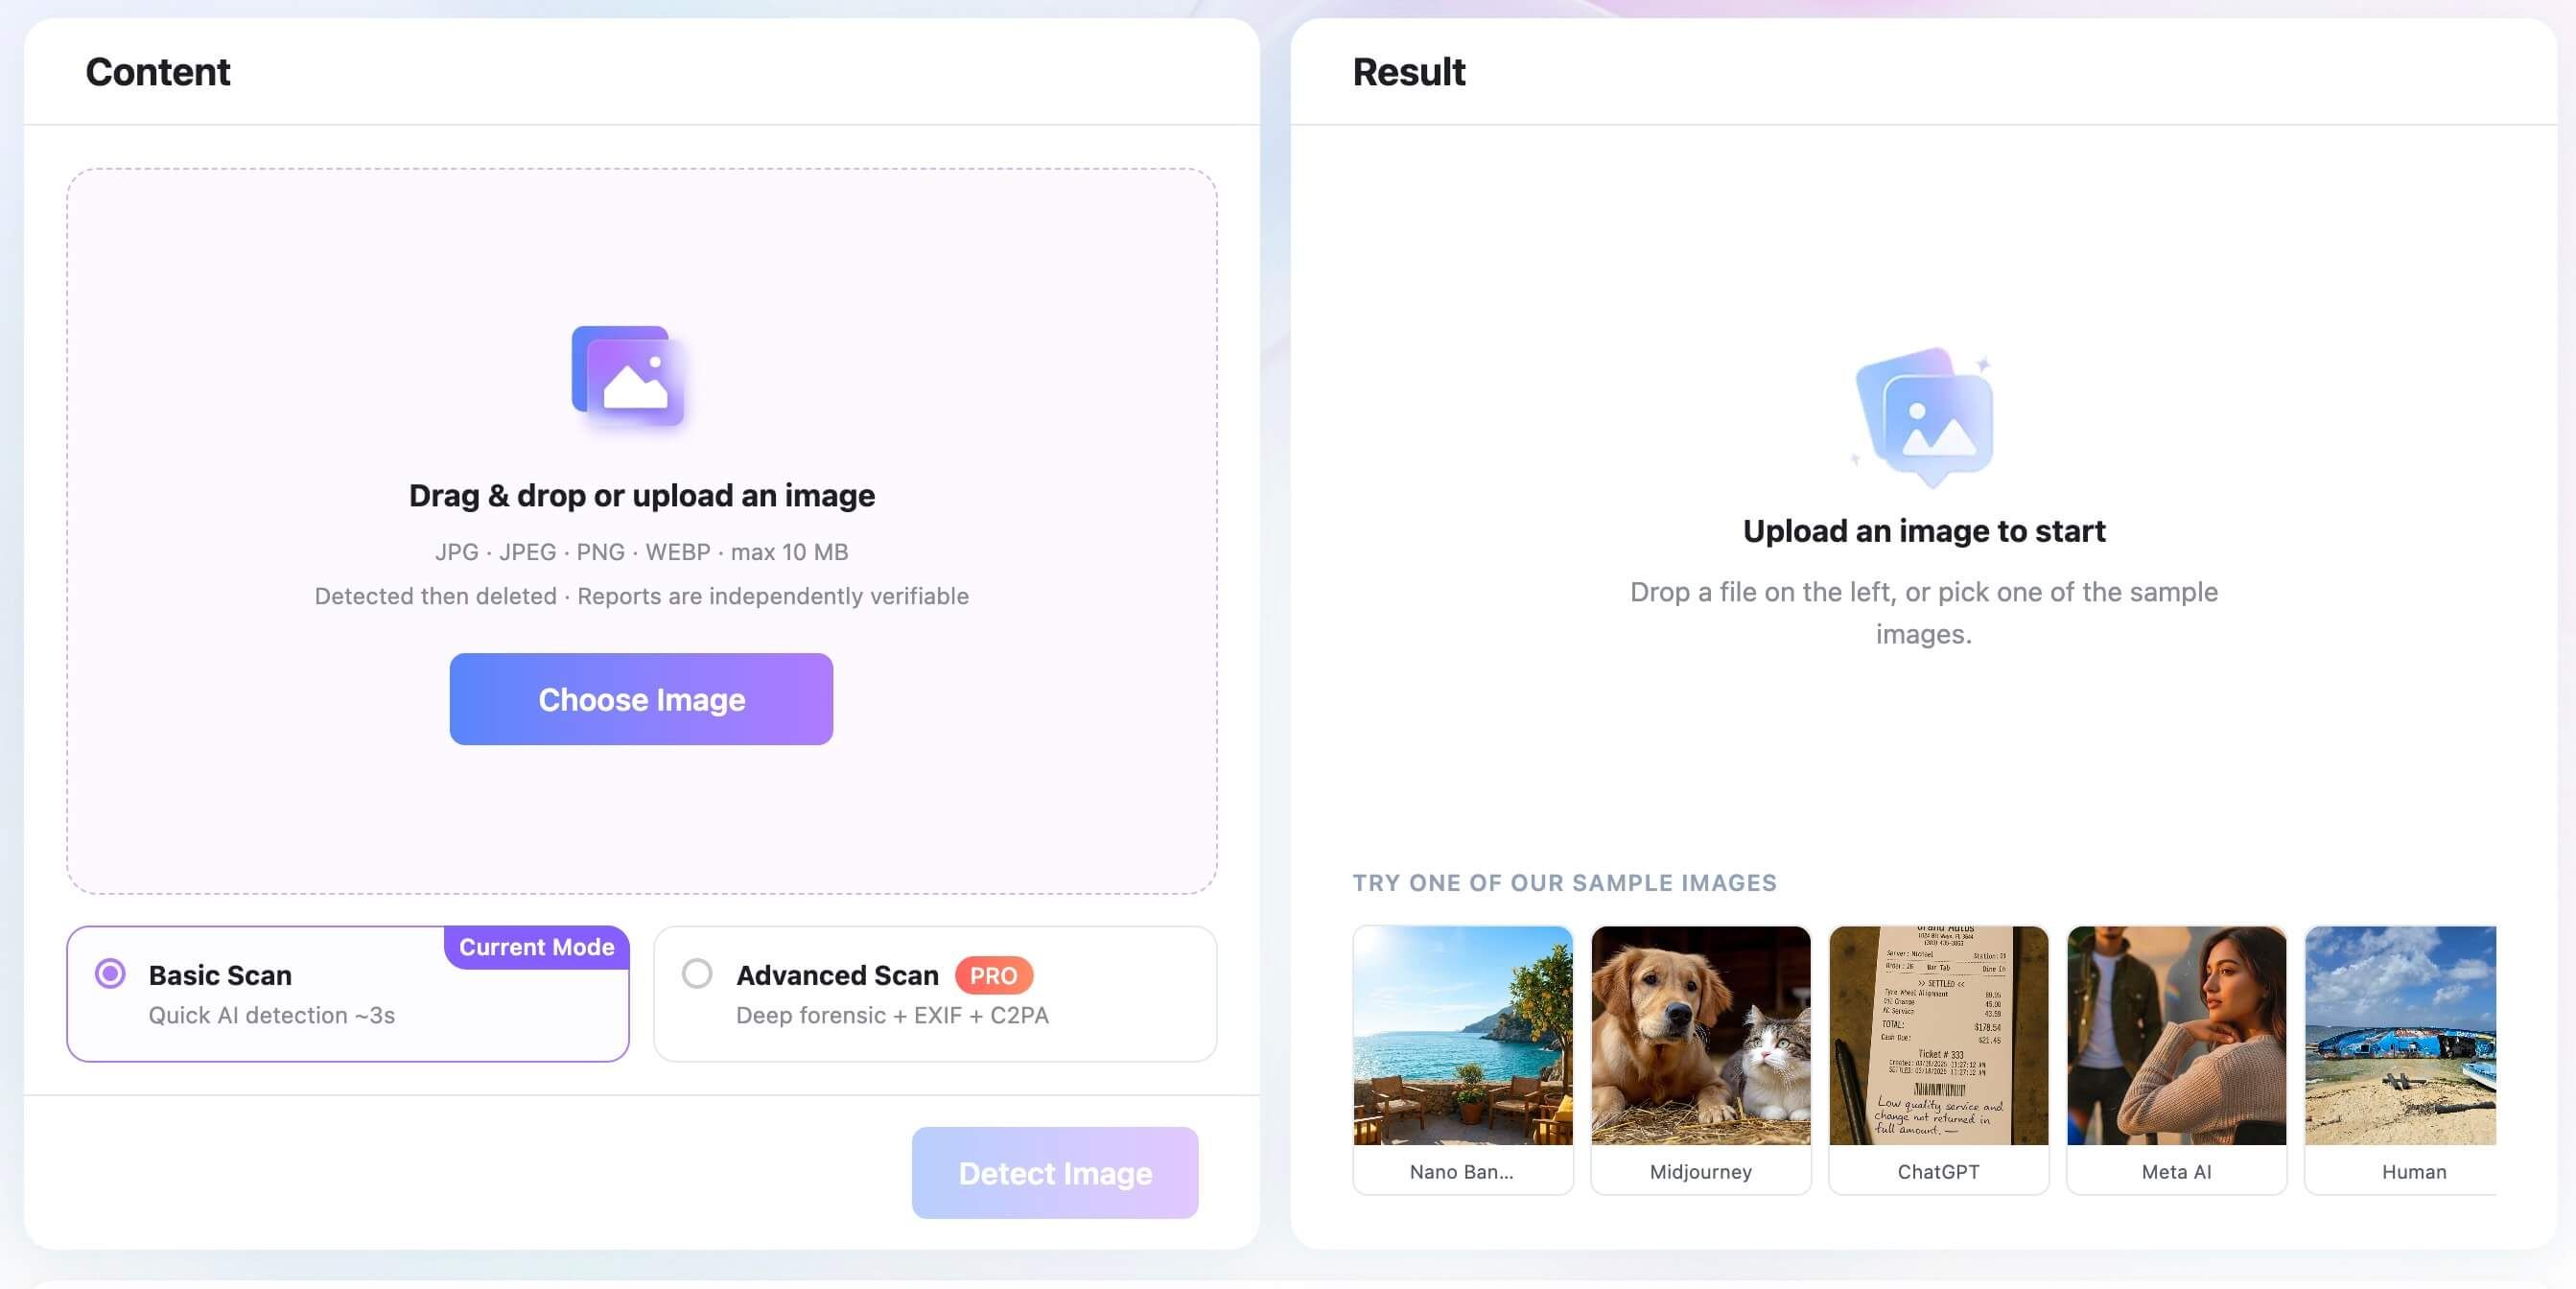
Step 2. Choose Basic or Advanced Scan
Use Basic Scan for a quick initial AI probability. Choose Advanced Scan when available watermark, C2PA, EXIF, and file evidence would help you understand the result in more context.
Advanced Scan is a Pro option. The additional evidence may still be absent or inconclusive, especially after screenshots, exports, or platform compression.
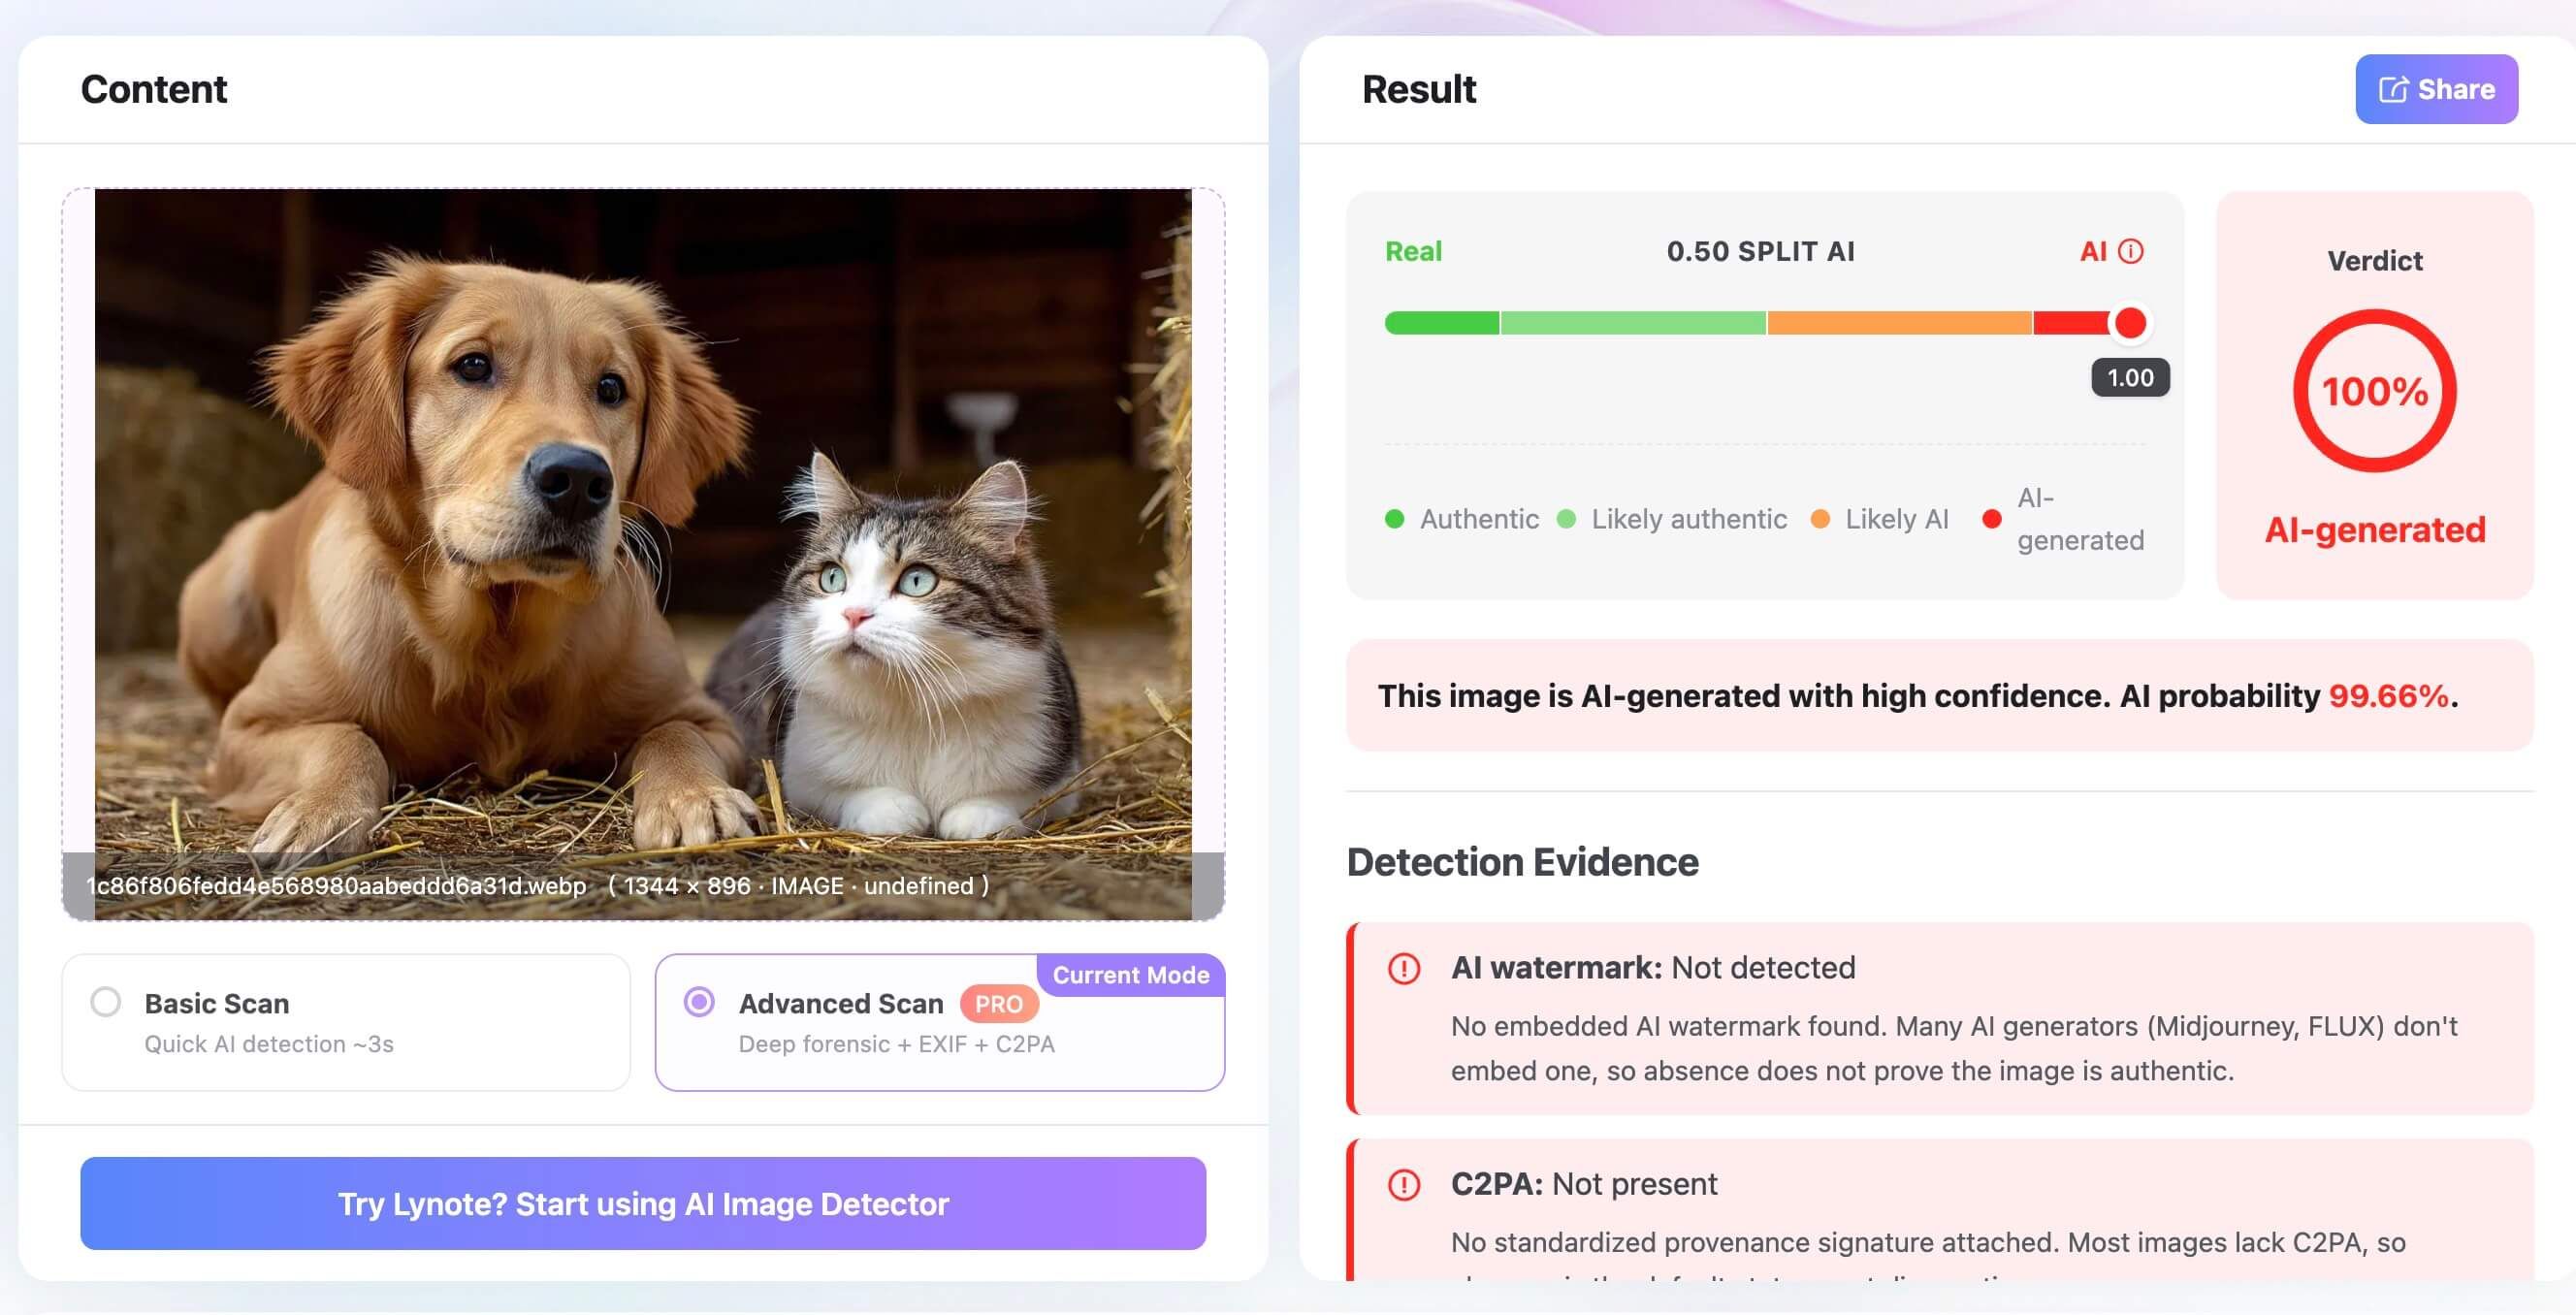
Step 3. Review the Result in Context
Read the AI probability together with any available provenance and file evidence. Then compare it with the visual checklist, exact document reference, capture source, and identity context.
Treat the result as a reason to investigate further, not proof of who created or edited the image. For high-stakes decisions, use an appropriate second review and official verification process.
A Safer Verification Workflow After You Find a Red Flag
Finding an anomaly should trigger a controlled review, not an immediate accusation. A defensible workflow preserves evidence, considers benign causes, and adds independent confirmation.
| Step | Action | Evidence gained | Escalation trigger |
|---|---|---|---|
| 1 | Preserve the original file and record its source | Stable evidence and capture context | File cannot be obtained or chain is unclear |
| 2 | Check image quality and benign transformations | Explains compression, glare, scanning, or rescaling | Artifact remains localized or unexplained |
| 3 | Compare the exact credential version | Layout and security-feature consistency | Material mismatch with genuine reference |
| 4 | Compare visible and machine-readable data | Internal document logic | Invalid, impossible, or conflicting data |
| 5 | Review metadata, provenance, and AI signals | Supporting file-level context | Several independent anomalies agree |
| 6 | Obtain a fresh trusted capture where permitted | Differential portrait and rightful-holder evidence | Presenter or portrait mismatch |
| 7 | Use authorized issuer, database, or specialist review | Independent confirmation | High-risk, regulated, or unresolved case |
| 8 | Record the decision and retention outcome | Auditability and quality feedback | Policy, fairness, or appeal concern |
Do not repeatedly process the same file until a tool produces the label you expect. Record conflicting results and investigate why they differ.
When requesting a new capture, explain the quality problem rather than accusing the person of fraud. A clear recapture can resolve glare, crop, focus, and compression issues quickly.
For Businesses: Build a Multi-Signal Review System
An enterprise workflow should separate four questions: is the document design credible, is the digital file manipulated, does the credential belong to the presenter, and does the broader application show suspicious behavior?
No single system answers all four. Document authentication, image forensics, face or morph analysis, liveness, database checks, device intelligence, and behavioral signals each cover different failure modes.
Route Uncertainty Instead of Automatically Rejecting It
Use risk tiers. A low-quality image can trigger a recapture, a localized anomaly can route to trained review, and several independent conflicts can trigger enhanced verification.
This reduces the harm of treating a probabilistic detector as an automatic denial engine. It also gives the team clearer reasons for each action.
Measure False Positives by Context
Track outcomes by document type, jurisdiction, issue version, capture channel, device, image quality, and user population. A threshold that works for clean passport scans may perform poorly on older cards captured in low light.
Review false positives as carefully as missed fraud. Both indicate where the workflow, model, instructions, or escalation policy needs improvement.
Keep References and Reviewers Current
Maintain approved examples of genuine documents and version changes. Train reviewers to distinguish physical security features from what can actually be judged in a still image.
Test tools against unfamiliar manipulation methods as well as benign transformations such as screenshots, messaging compression, scanning, glare, and perspective correction. A system that performs well only on clean test images is not ready for real intake.
Protect the People Behind the Documents
Collect only the data required for the stated purpose. Encrypt it, restrict access, log use, define retention and deletion periods, and provide a review or appeal route for consequential outcomes.
A fraud-prevention system should not create a larger identity-theft risk through unnecessary storage or uncontrolled analyst access.
What Image Analysis Cannot Prove
A clean image does not prove that an ID is genuine. It may be a high-quality counterfeit, a stolen authentic document, or a file whose suspicious evidence was lost during processing.
A suspicious image does not prove criminal intent. Poor capture, conversion, redaction, damaged credentials, and accessibility workflows can all create anomalies.
EXIF and C2PA can describe parts of file history, but they do not verify the truth of the identity claim. A valid provenance record may accurately describe an edited file, while a legitimate file may have no provenance information at all.
Still-image analysis cannot assess tactile printing, UV behavior, holographic movement, chip data, full-video liveness, lip-sync, voice, or issuer records. Those require other tools and procedures.
For employment, financial services, housing, travel, access control, or other consequential decisions, use the appropriate legal, regulated, and official verification channel. This guide is an inspection framework, not a substitute for professional document authentication.
FAQs About Manipulated ID Images
What is a manipulated ID image?
A manipulated ID image is a digital picture or scan of an identity document that has been altered, composited, generated, or recaptured in a way that changes or conceals relevant information. The physical credential may be genuine, counterfeit, stolen, or nonexistent.
Can metadata prove that an ID image was edited?
Metadata can reveal software, timestamps, dimensions, and capture details that support an investigation. It cannot prove fraudulent intent, and metadata can be changed, stripped, or added during legitimate processing.
Does missing EXIF mean an ID image is fake?
No. Screenshots, scanners, messaging platforms, exports, and privacy tools often remove EXIF from genuine images. Missing metadata is a weak clue unless other independent evidence supports the same concern.
Can a screenshot of a real ID still be fraudulent?
Yes. A screenshot may show a genuine credential that was stolen, altered earlier, or presented by the wrong person. It may also be a legitimate low-quality copy, so additional identity and source verification is required.
Can AI detect a fake ID photo?
AI can flag patterns associated with generated, morphed, or edited images, but performance depends on the attack method, image quality, and training data. Use it as one signal alongside document, source, and holder verification.
What is a face morph in an identity document?
A face morph blends characteristics from two or more people into one portrait. The goal may be to make the same image resemble multiple individuals, which is why comparison with a trusted second capture can be important.
Can C2PA prove that an ID image is genuine?
No. A valid C2PA credential can verify that signed provenance information is associated with the file and has not been tampered with since signing. It does not determine whether the document or identity claim is true.
What should I do if an ID image looks manipulated?
Preserve the original, document the anomaly, check for benign capture causes, compare the exact genuine document version, and obtain independent confirmation through an authorized process. Do not accuse or reject someone based on one artifact or detector score.
Is it safe to upload an ID image to an online detector?
An ID contains sensitive personal data, so upload it only when you are authorized and the service is approved for that purpose. Check storage, access, deletion, training-use, and third-party-processing policies before submission.
Final Checklist: Treat Red Flags as Leads, Not Verdicts
Start with the best original file and the exact document reference. Look for independent inconsistencies across typography, layout, data logic, portrait, security patterns, pixels, provenance, and identity context.
Actively test benign explanations such as compression, scanning, glare, camera enhancement, and version differences. A fair review tries to disprove suspicion as well as confirm it.
Use automated tools to route and support investigation, not to decide truth alone. Protect the personal data in the file, document the reasoning, and escalate consequential cases to the appropriate trained or official verification process.

Written by Danny
Product Marketing Manager
Danny explains how Lynote features fit real workflows, from everyday productivity to product-led writing use cases. View all articles →