
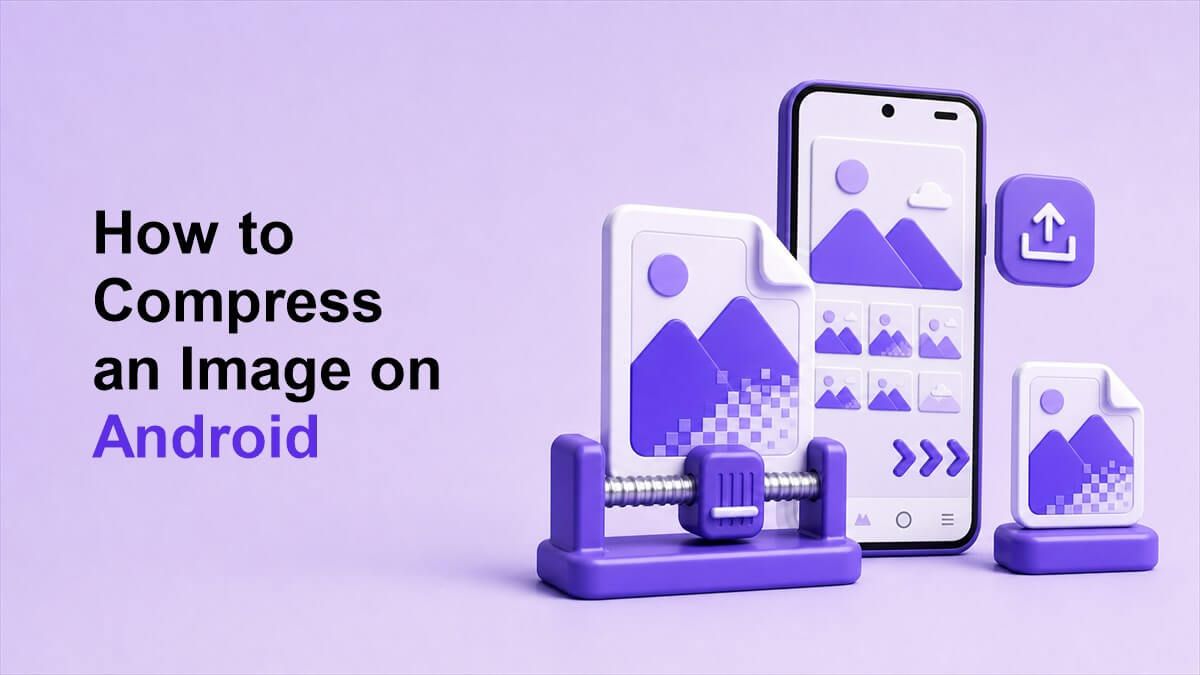
How to Compress an Image on Android

If your photos are too large to upload, send, or store, learning how to compress an image on android can save time and space. Android phones often capture high-resolution images that look great but create heavy files. This guide explains simple ways to reduce image size while keeping your photos clear.
Why Compress Images on Android?
Android cameras can produce large image files, especially on newer phones. A single photo may take several megabytes, and a folder of photos can quickly use storage. When you know how to compress images on Android, you can keep more room for apps, videos, and documents.
Large images are also harder to share. Email, chat apps, websites, and upload forms may reject files that are too big. Compressing images helps you send them faster and avoid failed uploads.
Compression is useful for everyday tasks. You may need a smaller image for a profile photo, online form, product listing, blog post, or support ticket. A good workflow helps you reduce file size without making the photo look blurry.
Save Phone Storage
Photos can fill your phone storage faster than expected. If you take screenshots, product photos, travel pictures, or document scans often, the total file size can grow quickly. Compression helps create lighter versions for daily use.
This does not mean you must delete the original file. You can keep the full-quality photo and create a compressed copy for sharing. That gives you both quality and convenience.
Share Images Faster
Large images take longer to send through messaging apps, email, and social media. They can also use more mobile data when uploaded. A smaller image is easier to share on slow Wi-Fi or cellular networks.
If you often ask how to compress image on Android before sending files, file size is probably the problem. Compression reduces the image weight and makes sharing smoother. This is especially helpful when sending several photos at once.
Meet Upload Limits
Many websites and forms have strict image size limits. They may ask for files under 1MB, 500KB, or even 100KB. Phone photos often exceed those limits.
Knowing how to compress image size on Android helps you prepare files before uploading. You avoid repeated upload errors and save time. This is useful for job portals, school forms, ID uploads, ecommerce stores, and customer support pages.
What Does Image Compression Mean on Android?
Image compression reduces the file size of a photo or screenshot. It can work by lowering quality slightly, resizing dimensions, removing metadata, or converting the file format. The goal is to make the image lighter while keeping it useful.
There are two common compression styles. Lossless compression keeps more image data but may not reduce size dramatically. Lossy compression removes some data and can create much smaller files.
For most Android sharing tasks, smart lossy compression is enough. People usually view images on screens, not in professional print. The best answer to how to compress image Android files is to balance size and clarity.
How Small Should Android Images Be?
The right file size depends on where you will use the image. A profile photo may only need a small file. A product image, document scan, or portfolio image may need more detail.
For casual sharing, a few hundred KB is often enough. For website uploads, keeping images under 200KB or 500KB may improve speed. For forms with strict limits, you may need a specific target size.
Do not compress every image as much as possible. Extreme compression can create blur, rough edges, and color blocks. Good Android image compression keeps the important details clear.
3 Simple Ways to Compress an Image on Android
There are several practical ways to reduce image size on an Android phone. You can use an online compressor, resize the image with a gallery or photo app, or use a dedicated compression app. Each method works, but the best option depends on your goal.
For most people, an online compressor is the easiest method. It does not require installing an app or learning advanced settings. It is also useful when you need a target file size.
Below are three simple methods. Start with the first one if you want the quickest workflow. Use the other methods when you need offline access or more manual editing control.
Method 1: Use Lynote Online Image Compressor
The easiest way to compress an image on Android is to use Lynote Image Compressor. Open the tool in your mobile browser and upload the image you want to reduce. It works well for photos, screenshots, scanned files, and website images.
First, choose the image from your phone. If you have multiple images, upload them together when batch compression is helpful. This saves time when preparing several files for email, forms, or a website.
Next, select a suitable compression result or target file size. For example, you may want an image under 500KB or 100KB. This makes Lynote useful when you need to compress image size Android files for strict upload rules.
After compression, preview the final image before downloading. Check faces, text, product details, or document numbers. If the image still looks clear, save the compressed version to your phone.
This method is ideal when you want to know how to compress image size in Android phone workflows without installing anything. It also works across different Android brands. Whether you use Samsung, Pixel, Xiaomi, OnePlus, or another phone, the browser-based process stays simple.
Method 2: Resize Images with Your Android Gallery App
Many Android phones include basic photo editing features. You can open a photo, choose edit, and look for resize, crop, or save options. These tools vary by device, but they can help reduce image dimensions.
Resizing works because large dimensions create larger files. A 4000-pixel-wide photo may be unnecessary for email, forms, or chat. Reducing it to 1200 or 1600 pixels wide can make the file much smaller.
Cropping can also help. If the photo has empty background or irrelevant edges, remove them before sharing. This keeps the subject clear and may reduce the file size.
This method is a simple answer to how to compress image in Android when you want to use built-in tools. It is not always precise, but it is fast. For a strict file size target, combine resizing with Lynote.
Method 3: Use an Android Compression App
A dedicated image compression app can help when you need offline access. These apps often include resize, quality, format, and batch settings. They are useful if you compress images often.
Open the app, choose your images, and select a compression level. Some apps let you choose the output size or final dimensions. Others provide simple presets for small, medium, or high quality.
Before saving, preview the result if the app allows it. If text looks blurry or colors look damaged, increase quality. The goal is to reduce size while keeping the image usable.
This method works well for people who regularly ask how to compress images on Android. It can be convenient for repeated tasks. However, for quick browser-based compression, Lynote is still the simpler option.
Best Image Formats for Android Compression
JPEG is usually best for photos. It creates smaller files and works well for images with many colors. Most Android camera photos are already saved as JPEG or a similar photo-friendly format.
PNG is better for screenshots, graphics, logos, and images with sharp text. However, PNG files can be larger than JPEG files. If a PNG screenshot is too heavy, compress it carefully so text remains readable.
WebP can provide strong compression with good quality. Many Android devices and modern browsers support it well. If your destination accepts WebP, it can be a good option for smaller files.
When deciding how to compress the image size in Android, format matters. Choose JPEG for photos, PNG for sharp graphics, and WebP when compatibility is suitable. Then use compression to fine-tune the result.
How to Compress Image Size on Android Without Losing Clarity
Start by checking what the image is for. If it is a casual photo, you can usually compress it more. If it contains text, IDs, receipts, or product details, use lighter compression.
Reduce dimensions before reducing quality too much. A properly resized image often looks cleaner than an over-compressed full-size image. This is one of the best ways to keep clarity.
Always preview the compressed image. Open it at normal viewing size and check important details. If the image looks clear in context, the compression level is probably fine.
This workflow helps answer how to compress image size on Android without ruining the image. You are not just chasing a tiny file. You are making the image easier to use while preserving what matters.
How to Compress Image in Android Programmatically
Developers may need to compress images inside an Android app. In that case, the workflow is different from a normal phone user. You may resize the bitmap, compress it as JPEG or WebP, and save the output file.
When learning how to compress image in Android programmatically, avoid loading huge images into memory without scaling. Large bitmaps can cause memory problems. Decode the image at a smaller size when possible.
You can also adjust compression quality. For example, saving a JPEG at 80% quality often reduces file size while keeping acceptable clarity. Test with real images before choosing a default value.
How to Compress Image in Android Studio
If you are building in Android Studio, test compression on different image types. Photos, screenshots, and scanned documents behave differently. A setting that works for photos may make text-heavy screenshots blurry.
Use a simple quality range and preview the results. For example, compare 90, 80, and 70 quality outputs. Then choose a balance that fits your app’s purpose.
When working on how to compress image in Android Studio, remember user expectations. A chat app, form upload, and photo editor may need different defaults. Let users choose quality when the image is important.
Common Mistakes to Avoid
The first mistake is compressing the only copy of a photo. Always keep the original when quality matters. Save a compressed version separately for upload or sharing.
The second mistake is using extreme compression. A very small file may look poor, especially if it contains text or faces. Check the image before sending or uploading.
The third mistake is ignoring dimensions. A large image can stay heavy even after light compression. Resize first, then compress for better results.
When Should You Use Lynote Instead of a Phone App?
Use Lynote when you need quick compression without installing anything. It is helpful for one-time tasks, strict upload limits, and batch preparation. You can open it from your Android browser and finish the task quickly.
Lynote is also useful when you want a more predictable result. Built-in gallery apps may not show clear file-size controls. An online compressor gives you a focused workflow.
For repeat offline editing, an installed app may be convenient. For simple and fast compression, Lynote is often easier. Both options can fit into a good Android image workflow.
FAQ
How do I compress an image in Android?
You can compress an image in Android by using an online tool like Lynote, resizing it in your gallery app, or using a compression app. Upload or select the image, reduce the file size, preview the result, and save a compressed copy. This helps with uploads, sharing, and storage.
How do I compress image on Android for upload forms?
To compress image on Android for upload forms, use Lynote and choose a target file size that matches the form limit. If the image is still too large, resize it first and compress again. Always check that text or document details remain readable.
How do I compress image size Android photos without blur?
To compress image size Android photos without blur, avoid extreme quality reduction. Resize large photos first, then apply moderate compression. Preview the image before using it.
How do I compress image in Android Studio?
To compress image in Android Studio, resize the bitmap before saving and export it as JPEG or WebP with a suitable quality setting. Test different quality levels with real sample images. Avoid loading huge images at full size if your app does not need them.
How do I compress image size in Android phone storage?
To compress image size in Android phone storage, create smaller copies of photos you use for sharing or upload. Keep originals only when you need full quality. Use Lynote or a compression app to reduce files in batches.
Conclusion
Learning how to compress an image on android helps you upload faster, share more easily, and save phone storage. Use Lynote for quick online compression, resize images with built-in tools when needed, and keep originals for important photos. With the right workflow, Android image compression becomes simple and reliable.

Written by Janet L. Harris
AI Writing Specialist
Janet reviews AI detectors and humanization tools, with a focus on accuracy, limitations, and responsible use. View all articles →