
How to Compress Images for Email: 3 Simple Methods

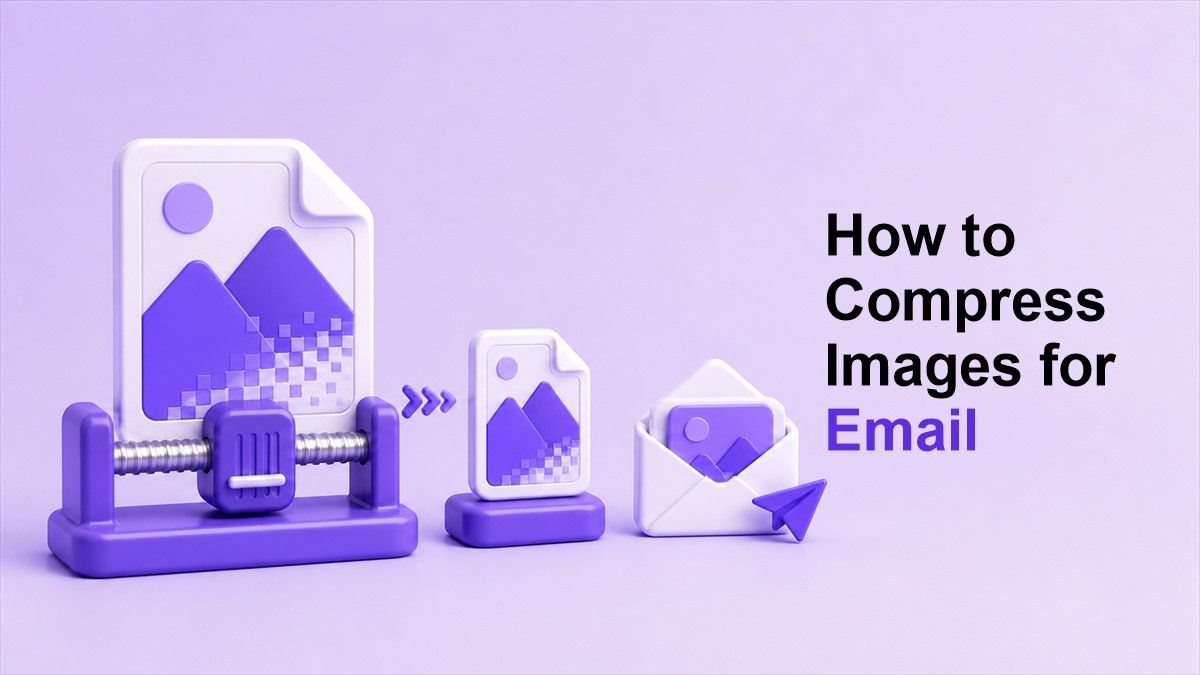
If large photo attachments keep bouncing back or loading slowly, learning how to compress images for email can make sending files much easier. Compressed images upload faster, use less storage, and are more likely to fit within email attachment limits. This guide explains simple ways to reduce image file size while keeping your photos clear enough to share professionally.
Why Should You Compress Images for Email?
Email platforms often limit the size of attachments. Gmail, Outlook, Yahoo Mail, and many business email systems may reject messages when files are too large. If you send high-resolution photos straight from a phone or camera, the total attachment size can grow quickly.
When you know how to compress images for email, you can avoid failed sends and slow uploads. Smaller images are easier for recipients to download, preview, and store. This is especially useful when sending work documents, event photos, product pictures, or application materials.
Compressing images also helps keep email conversations cleaner. Instead of forcing someone to download several oversized files, you can send lighter images that still look good. The result is a smoother experience for both the sender and the recipient.
Faster Uploading and Sending
Large image files take more time to attach and send. This can be frustrating when your internet connection is slow or when you need to send several photos at once. Compression reduces file size, so your email can move through the upload process faster.
If you often wonder how to compress images to email without waiting forever, file size is usually the main issue. A few large photos can take longer than an entire document folder. Smaller images make the process more predictable.
Fewer Attachment Problems
Email systems often block oversized attachments. Even if your email provider allows a large file, the recipient’s email system may not accept it. Compressing your images before sending reduces the chance of delivery problems.
This matters when you send time-sensitive files. A job application, client approval image, invoice photo, or ID scan should arrive without errors. Knowing how to compress image files for email helps prevent last-minute issues.
Better Experience for Recipients
Not every recipient wants to download huge image files. Some people check email on mobile devices, limited storage, or slower connections. Smaller attachments are easier to open and review.
If you send images to coworkers, customers, teachers, or support teams, compression shows consideration. The image remains useful, but the file is not unnecessarily heavy. That balance is the goal of smart email image compression.
What Does Image Compression Mean?
Image compression reduces the file size of an image. It can remove unnecessary data, lower quality slightly, resize the image, or convert it into a more efficient format. The goal is to make the image smaller while keeping it visually acceptable.
There are two common types of compression: lossy and lossless. Lossy compression creates smaller files by removing some image data. Lossless compression keeps more original detail but may not reduce the file size as much.
For email, lossy compression is often enough. Most recipients do not need a full-resolution camera file unless they plan to print or edit it. If your goal is simply to share a clear photo, learning how to compress images to send in email can save time and storage.
How Small Should Email Images Be?
The right file size depends on the purpose of the email. A casual photo can often be compressed to a few hundred KB. A professional product image or design preview may need a slightly larger file to preserve detail.
As a general rule, try to keep individual email images under 1MB when possible. For multiple attachments, smaller is better because total message size matters. If you are sending several images, compress each one before attaching them.
You do not always need to chase the smallest possible file. Extreme compression can create blur, color banding, or rough edges. The best approach to how to compress images for email is to reduce size enough for easy sending while keeping the image readable and clean.
3 Simple Ways to Compress Images for Email
There are several practical ways to reduce image size before sending an email. You can use an online compressor, resize images manually, or export images from a photo editor with lower file size settings. Each method works, but the best choice depends on how many images you need to send.
For most people, an online tool is the fastest option. It does not require installing software or learning advanced editing settings. This makes it useful when you need a quick answer to how to compress images to email.
Below are three simple methods you can use today. The first method is usually the easiest for everyday email attachments. The other two are helpful when you want more manual control.
Method 1: Use Lynote Online Image Compressor
The easiest way to compress images for email is to use Lynote Image Compressor. It lets you reduce image file size online without complicated editing steps. You can use it for photos, screenshots, scanned images, and other email attachments.
First, open the Lynote image compressor in your browser. Upload the image files you want to reduce. If you have several files, compressing them before attaching can make the whole email easier to send.
Next, choose a suitable compression target or output size if needed. For example, you may want each image under 500KB or 1MB. This is useful when you need to compress image files for email and stay under a specific attachment limit.
After compression, preview the image before downloading. Make sure faces, text, product details, or document information are still clear. Then download the compressed image and attach it to your email.
This method is especially helpful when you need to know how to compress images to send in email quickly. You do not need to install an app, open design software, or guess the right export setting. Lynote gives you a direct workflow from upload to compressed download.
Method 2: Resize Images Before Attaching Them
Resizing is another effective way to reduce file size. Many images from phones and cameras are much larger than needed for email viewing. A photo that is 4000 pixels wide may look the same in an email after being resized to 1600 pixels wide.
You can resize images with built-in photo apps, preview tools, or simple image editors. Choose a smaller width while keeping the original aspect ratio. This prevents the image from looking stretched or distorted.
Resizing works well when you want to send photos for viewing rather than printing. If the recipient only needs to see the image on a screen, a smaller version is usually enough. This is a practical answer to how to compress images for email while keeping quality acceptable.
Method 3: Export Images with Lower Quality Settings
Many photo editors allow you to adjust export quality. Lowering the quality slightly can reduce file size significantly. A small change from maximum quality to high quality may make the file much smaller without obvious visual loss.
This method is useful if you already use design or photo editing software. You can open the image, choose export or save as, and adjust quality before saving. Then compare the final file size with the original.
Be careful not to reduce quality too much. If text becomes hard to read or details look muddy, increase the quality setting. Good email compression should make the file lighter without making the image look careless.
Best Image Formats for Email
JPEG is usually the best format for email photos. It creates smaller files and works well for pictures with many colors. If you are sending camera photos, JPEG is often the safest choice.
PNG is better for screenshots, graphics, logos, and images with text. However, PNG files can be larger than JPEG files, especially for photos. If a PNG is too large, compress it or consider converting it when transparency is not needed.
WebP can create small files, but not every email workflow handles it equally well. For maximum compatibility, JPEG and PNG are still common choices. When deciding how to compress image files for email, format compatibility matters as much as size.
How to Compress Images to Send in Email Without Losing Clarity
Start by checking the image’s purpose. If the recipient needs to review a document, text must remain readable. If the image is a casual photo, you can usually compress it more aggressively.
Use preview before sending whenever possible. Open the compressed image at normal viewing size and check important details. If it still looks clear, the file is likely good enough for email.
Avoid compressing the same image many times. Repeated compression can gradually damage image quality. Keep the original file and create one compressed version for email sharing.
Common Mistakes to Avoid
One common mistake is attaching original camera files directly. These files are often several megabytes each. Sending several of them can quickly exceed email limits.
Another mistake is only reducing image dimensions without checking file size. A resized image can still be too large if saved at maximum quality. For best results, combine resizing with compression.
A third mistake is compressing images so much that they lose important detail. If the image contains text, receipts, IDs, charts, or product details, clarity matters. The goal is not just a tiny file, but a usable file.
When Should You Use a Cloud Link Instead?
Sometimes compression is not enough. If you need to send dozens of high-resolution images, a cloud link may be better than email attachments. This avoids inbox limits and keeps image quality intact.
Cloud links are useful for photo galleries, design handoffs, and print-ready files. In those cases, compress preview images for email and share the originals separately. This gives the recipient both convenience and access to full-quality files.
Still, compression is useful even with cloud sharing. Smaller preview images make emails faster and easier to understand. You can include compressed examples in the message and link to the full folder when needed.
FAQ
How do I compress images to email?
You can compress images to email by uploading them to an online compressor like Lynote, reducing the file size, and downloading the optimized version. After that, attach the smaller image to your message. This helps avoid attachment limits and slow uploads.
How do I compress images to send in email?
To compress images to send in email, resize large photos, use JPEG for photo attachments, and apply image compression before sending. You can use Lynote to reduce file size online and preview the result. This keeps images easier to upload, send, and download.
How do I compress image files for email without losing quality?
To compress image files for email without losing quality, avoid extreme compression and check the final preview. Use a balanced file size target, keep important details readable, and save one optimized copy. For most email use, the image does not need to remain at full camera resolution.
What is the best file size for email images?
A good target is usually under 1MB per image. For simple photos, a few hundred KB may be enough. If you are sending multiple images, compress each file so the total email size stays manageable.
Conclusion
Learning how to compress images for email helps you send photos faster, avoid attachment errors, and make files easier for recipients to open. Start with Lynote for quick online compression, then resize or adjust format when needed. With the right workflow, how to compress images for email becomes a simple step before every large attachment.

Written by Janet L. Harris
AI Writing Specialist
Janet reviews AI detectors and humanization tools, with a focus on accuracy, limitations, and responsible use. View all articles →