
Bild in Google Tabellen komprimieren ohne Qualitätsverlust

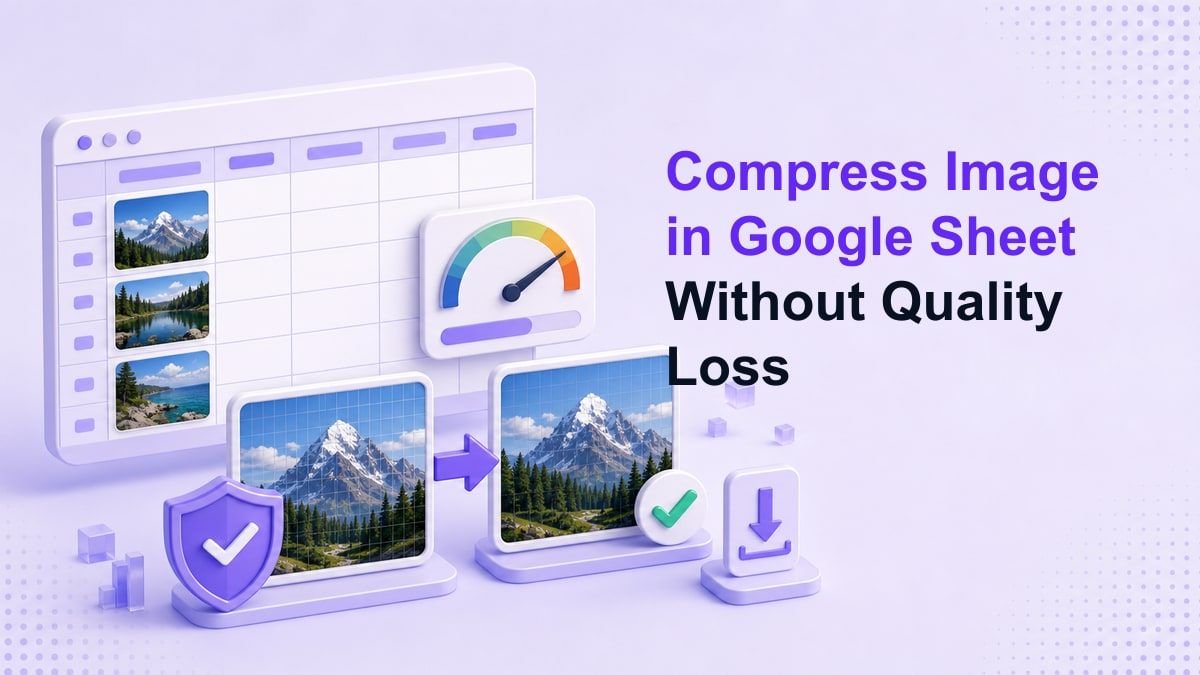
Bilder in Google Sheets komprimieren ist wichtig, wenn eine einfache Tabelle langsam, schwerfällig oder schwer zu teilen wird. Bilder können Google Sheets und Google Docs visueller gestalten, aber sie können auch die Dateigröße erhöhen, das Laden verlangsamen und Probleme bei der Zusammenarbeit verursachen. Die beste Lösung ist, Bilder vor dem Hinzufügen vorzubereiten.
Warum Bildkomprimierung in Google Sheets wichtig ist
Google Sheets wird oft für Dashboards, Kataloge, Produkt-Tracker, Kampagnenkalender, Berichte und Projektboards verwendet. Wenn diese Tabellen Screenshots, Produktfotos, Belege oder Referenzbilder enthalten, kann die Datei schwerer zu öffnen und zu bearbeiten werden. Deshalb suchen viele Nutzer nach Möglichkeiten, Bilder in Google Sheets zu komprimieren, bevor sie ein Dokument teilen.
Große Bilder können auch die Zusammenarbeit beeinträchtigen. Eine Tabelle mit Dutzenden von überdimensionierten Fotos kann für Teammitglieder mit schwächeren Verbindungen langsam laden. Kleinere, optimierte Bilder erleichtern das Öffnen, Scrollen und Überprüfen der Tabelle.
Die Bildkomprimierung ist auch wichtig, wenn Sie Dateien exportieren oder duplizieren. Wenn dieselben Bilder über Berichte, Vorlagen oder Kundendateien kopiert werden, steigen die Speicherkosten schnell an. Das Vorbereiten von Bildern vor dem Hochladen sorgt von Anfang an für einen saubereren Workflow.
Komprimiert Google Sheets Bilder automatisch?
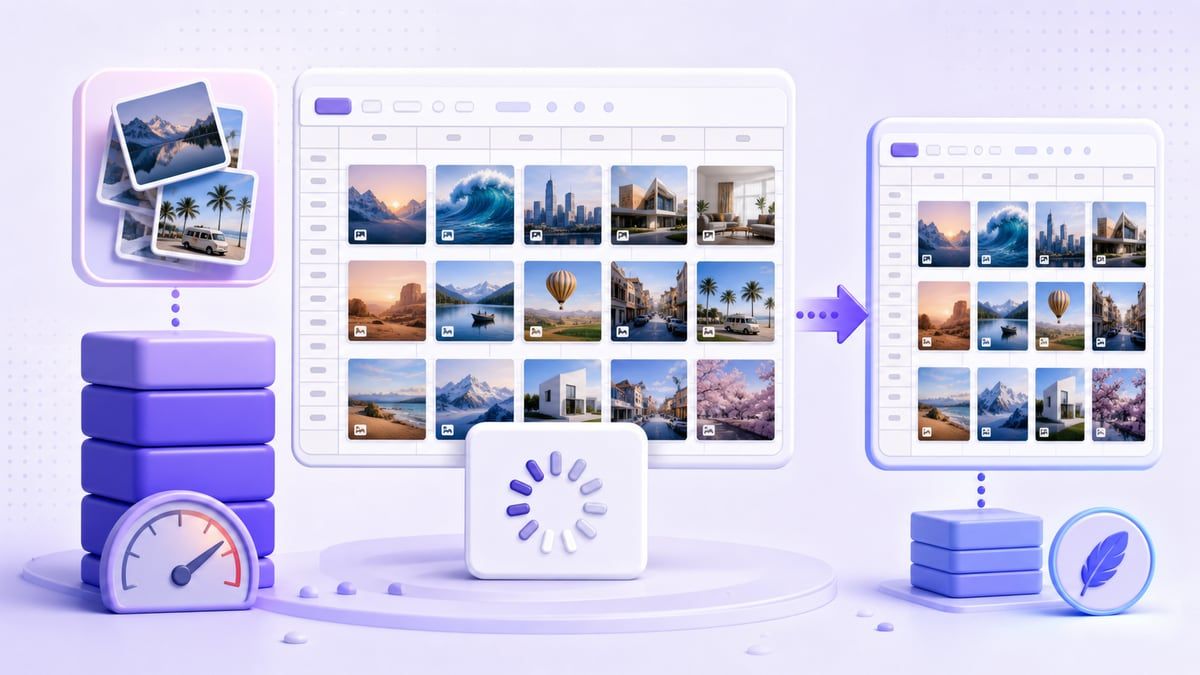
Google Sheets kann eingefügte Bilder in kleineren Dimensionen anzeigen, aber das bedeutet nicht immer, dass die Bilddatei sinnvoll optimiert wurde. Ein großes Bild kann immer noch unnötiges Dateigewicht mit sich bringen, selbst wenn es in einer Zelle oder über der Tabelle klein aussieht. Visuelle Größenänderung und echte Komprimierung sind nicht dasselbe.
Deshalb sollten Workflows zum Komprimieren von Bildern in Google Sheets vor dem Hochladen erfolgen, wenn die Dateigröße wichtig ist. Wenn Sie die Bildecken nur kleiner ziehen, ändern Sie das Aussehen des Bildes, nicht unbedingt das Gewicht des Originalbildes. Für eine leichte Tabelle bereiten Sie das Bild zuerst vor.
Google Docs verhält sich in vielen praktischen Fällen ähnlich. Wenn Nutzer nach dem Komprimieren von Bildern in Google Docs oder dem Verkleinern von Bildern in Google Docs suchen, wollen sie in der Regel ein kleineres Dokument, nicht nur ein kleiner aussehendes Bild. Dieselbe Vorbereitungslogik gilt für Docs und Sheets.
Bildkomprimierung in Google Sheets vs. Google Docs
Google Sheets ist auf Zeilen, Spalten, Formeln, Tabellen und leichte Zusammenarbeit ausgelegt. Bilder sind in der Regel unterstützende Materialien, wie Produktminiaturen, Belege, Designbeispiele oder visuelle Beweise. Wenn diese Bilder überdimensioniert sind, können sie eine praktische Tabelle unhandlich wirken lassen.
Google Docs ist dokumentenzentrierter. Bilder können in Berichten, Vorschlägen, Handbüchern, Aufsätzen oder Anleitungen erscheinen. Nutzer, die die Bildgröße in Google Docs komprimieren, möchten oft, dass das Dokument schneller lädt, sauberer exportiert oder einfacher geteilt werden kann.
Das gemeinsame Problem ist einfach: Beide Tools können Bilder anzeigen, aber keines bietet Ihnen eine umfassende Komprimierungskontrolle innerhalb des Dokumenten-Workflows. Das macht ein Komprimierungstool vor dem Hochladen nützlich. Sie steuern das Bild zuerst und platzieren es dann in der Google-Datei.
Was passiert, wenn Bilder zu groß sind?
Überdimensionierte Bilder können zu langsamem Laden, verzögerter Bearbeitung und schwereren Exporten führen. Eine Tabelle mit vielen hochauflösenden Fotos kann sich viel langsamer anfühlen als eine Tabelle mit optimierten Miniaturansichten. Das Problem wird sichtbarer, wenn die Datei mit mehreren Personen geteilt wird.
Große Bilder erschweren auch die Versionskontrolle. Teammitglieder können die Tabelle duplizieren, Bilder in neue Registerkarten kopieren oder die Datei im PDF-Format exportieren. Jedes duplizierte schwere Bild erhöht die Reibung.
Es gibt auch einen Qualitätskompromiss. Wenn Sie zu aggressiv komprimieren, können Text, Produktdetails oder Diagrammbeschriftungen unscharf werden. Das Ziel ist nicht, jedes Bild winzig zu machen; das Ziel ist, jedes Bild leicht genug zu machen, während die Details nützlich bleiben.
Warum Größenänderung nicht dasselbe ist wie Komprimierung
Größenänderung ändert die Bildabmessungen. Komprimierung reduziert das Dateigewicht. Diese Aktionen arbeiten oft zusammen, lösen aber unterschiedliche Probleme.
Wenn Sie ein 4000 Pixel breites Bild in eine winzige Zelle einfügen, zeigt Google Sheets es möglicherweise als Miniaturansicht an. Die Originaldatei kann jedoch immer noch viel größer sein als nötig. Deshalb sollte ein Workflow zum Komprimieren von Bildern in Google Sheets sowohl die Anzeigegröße als auch die Dateigröße berücksichtigen.
Eine gute Regel ist, die Größe basierend darauf anzupassen, wie das Bild verwendet wird. Eine Produktminiaturansicht benötigt nicht die gleiche Auflösung wie ein vollseitiger visueller Nachweis. Das Komprimieren nach der Wahl einer praktischen Größe kann dazu beitragen, die Klarheit zu erhalten, ohne zusätzliches Gewicht mit sich zu bringen.
So komprimieren Sie Bilder, bevor Sie sie zu Google Sheets hinzufügen
Schritt 1. Bestimmen Sie den Zweck des Bildes
Bevor Sie Bilder in Google Sheets-Dateien komprimieren, entscheiden Sie, was das Bild zeigen soll. Ein Belegbild benötigt möglicherweise lesbare Summen und Daten. Ein Produktfoto benötigt möglicherweise Farb- und Formklarheit.
Ein Dashboard-Screenshot benötigt möglicherweise Diagrammbeschriftungen und UI-Details. Eine einfache Miniaturansicht benötigt möglicherweise nur genug Qualität zur Erkennung. Diese Entscheidung hilft Ihnen, sowohl überdimensionierte Dateien als auch unleserliche Bilder zu vermeiden.
Schritt 2. Verwenden Sie Lynote Compress Image
Öffnen Sie Lynote Compress Image, bevor Sie Bilder in Google Sheets einfügen. Lynote ermöglicht es Ihnen, eine Zielgröße vor dem Hochladen zu wählen und dann ein oder mehrere Bilder in den Upload-Bereich zu ziehen. Die Komprimierung beginnt automatisch nach dem Hochladen.
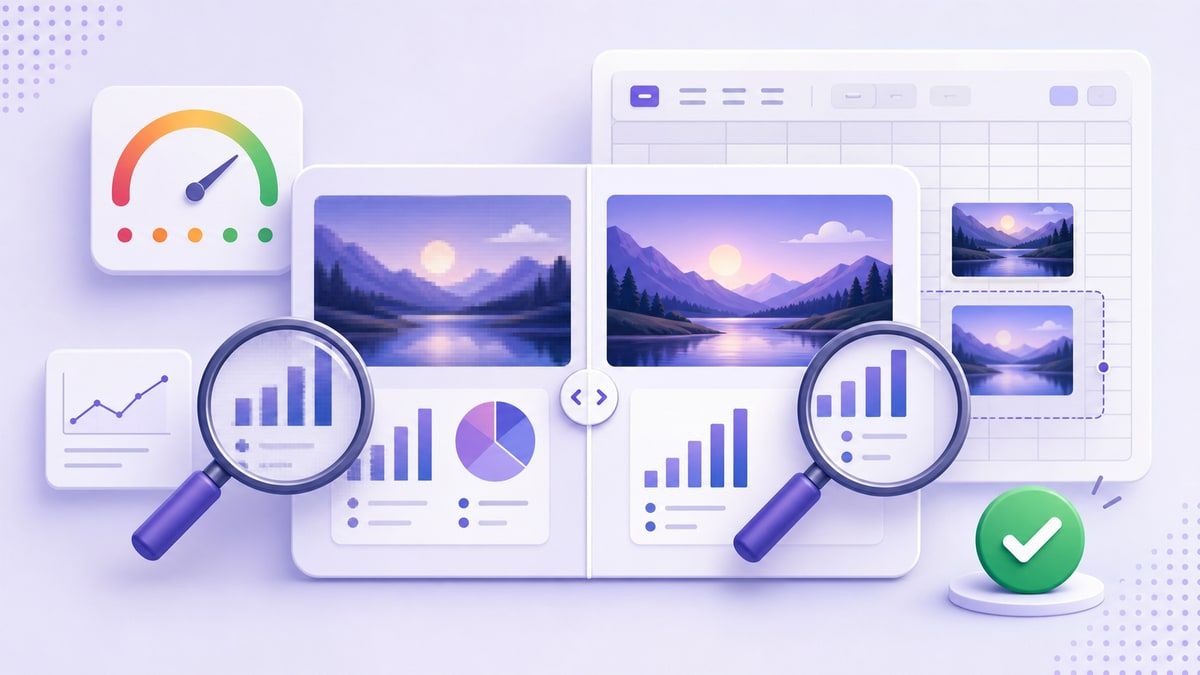
Nach der Komprimierung können Sie die Vorschau des Originalbildes und des komprimierten Bildes vergleichen. Dies ist nützlich, da Sie überprüfen können, ob Text, Linien, Gesichter, Produktdetails oder UI-Elemente noch klar aussehen. Wenn das Ergebnis passt, laden Sie das komprimierte Bild herunter und verwenden Sie es in Ihrer Tabelle.
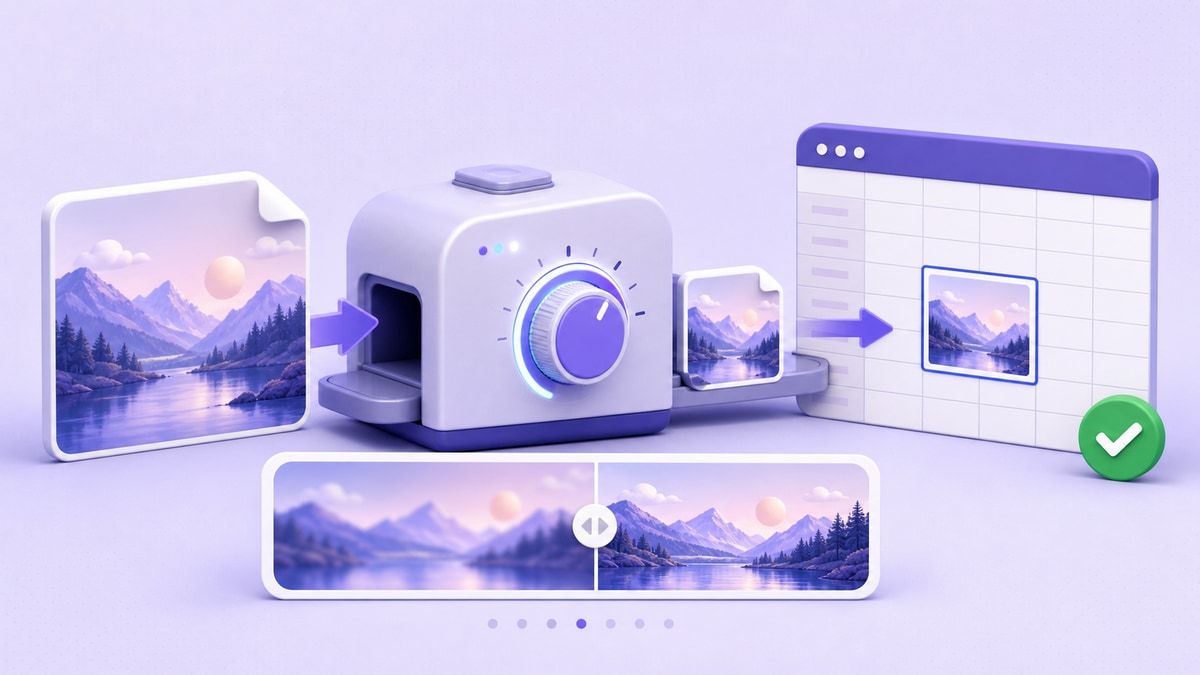
Schritt 3. Fügen Sie das optimierte Bild ein
Sobald das Bild komprimiert ist, fügen Sie es in Google Sheets ein. Sie können es in eine Zelle einfügen oder über Zellen platzieren, je nach Ihrem Layout. Verwenden Sie kleinere Bilder für Miniaturansichten und klarere Bilder für inhaltsreiche Überprüfungen.
Dieser Workflow hält Google Sheets von Anfang an leichter. Er erleichtert auch das Teilen der Datei mit Teamkollegen, Kunden oder Kommilitonen. Sie warten nicht darauf, dass Google Sheets die Bildgröße nachträglich löst.
So komprimieren Sie Bilder in Google Docs
Viele der gleichen Regeln gelten, wenn Sie Bilder in Google Docs komprimieren. Ein Bericht, ein Vorschlag oder eine Anleitung kann schwer werden, wenn jedes Bild in voller Auflösung hochgeladen wird. Schon wenige große Bilder können die Datei langsamer zum Teilen oder Exportieren machen.
Beginnen Sie damit, zu entscheiden, wo das Bild im Dokument erscheinen soll. Ein Hero-Bild benötigt möglicherweise eine höhere Qualität, während ein Inline-Screenshot oft kleiner sein kann. Das Komprimieren vor dem Hochladen gibt Ihnen mehr Kontrolle über das endgültige Dokument.
Verwenden Sie Lynote Compress Image, um die Dateigröße zu reduzieren, die Vorschau zu überprüfen und eine kleinere Version herunterzuladen. Fügen Sie diese Version dann in Google Docs ein. Dies ist oft vorhersehbarer, als sich nur auf die manuelle Größenänderung innerhalb des Dokuments zu verlassen.
Beste Bildformate für Google Sheets und Docs
Die Wahl des richtigen Formats hilft, wenn Sie Bilder in Google Sheets oder Docs komprimieren. JPG ist oft nützlich für Fotos, Produktbilder, Lifestyle-Visuals und große, bildlastige Dateien. Es reduziert die Dateigröße in der Regel gut, besonders wenn das Bild keinen winzigen Text enthält.
PNG ist oft besser für Screenshots, UI-Aufnahmen, Diagramme, Diagramme und Bilder mit scharfen Linien. Wenn das Bild Text oder Schnittstellendetails enthält, kann PNG die Klarheit besser erhalten. Die Datei kann größer sein, aber die Lesbarkeit kann es wert sein.
WebP kann für Web-Workflows nützlich sein, aber die Kompatibilität sollte berücksichtigt werden. Wenn Sie Dateien mit vielen Personen teilen, sind gängige Formate wie JPG und PNG in der Regel sicherer. Das beste Format hängt vom Bildinhalt und dem Verwendungszweck der Datei ab.
| Bildtyp | Empfohlenes Format | Warum es hilft |
|---|---|---|
| Produktfoto | JPG | Kleinere Dateigröße für fotobasierte Visuals |
| UI-Screenshot | PNG | Hält den Interface-Text schärfer |
| Belegscan | JPG oder PNG | Abhängig von den Lesbarkeitsanforderungen |
| Diagramm oder Grafik | PNG | Bewahrt Linien und Beschriftungen |
| Einfache Miniaturansicht | JPG | Gute Balance für Tabellen-Vorschauen |
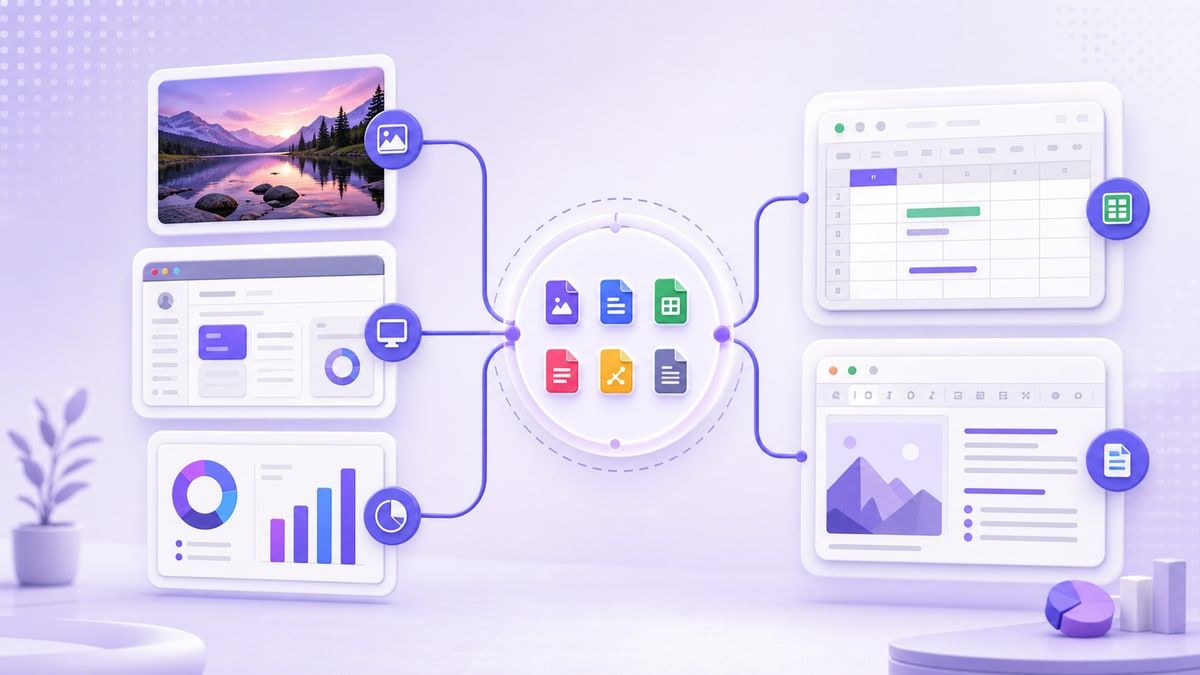
Bildgröße in Google Docs komprimieren, ohne den Kontext zu verlieren
Wenn Leute nach dem Komprimieren der Bildgröße in Google Docs suchen, befürchten sie oft, wichtige visuelle Informationen zu verlieren. Diese Sorge ist berechtigt. Die Komprimierung sollte den Grund für die Existenz des Bildes nicht aufheben.
Bei Dokumenten ist der Kontext wichtig. Ein Screenshot in einem Tutorial muss Schaltflächen und Beschriftungen lesbar halten. Ein Produktbild in einem Vorschlag muss immer noch professionell genug für eine Überprüfung aussehen.
Der sicherste Workflow ist vorschau-basiert. Komprimieren Sie das Bild, vergleichen Sie es mit dem Original und verwenden Sie das Ergebnis nur, wenn die wichtigen Details klar bleiben. Lynote hilft dabei, da die Vorher-Nachher-Vorschau den Kompromiss sichtbar macht.
Bild in Google Docs verkleinern: Ein praktischer Workflow
Um ein Bild in Google Docs zu verkleinern, beginnen Sie außerhalb des Dokuments. Zuerst ändern Sie die Größe oder komprimieren das Bild basierend auf dem endgültigen Anwendungsfall. Fügen Sie dann die optimierte Version in das Dokument ein.
Innerhalb von Google Docs können Sie Layout und Anzeigegröße immer noch anpassen. Die entscheidende Arbeit an der Dateigröße sollte jedoch erfolgen, bevor das Bild in das Dokument gelangt. Das hält das Dokument leichter und einfacher zu teilen.
Dieser Ansatz funktioniert besonders gut für bildlastige Berichte. Anstatt zehn Bilder in voller Größe einzufügen und zu hoffen, dass das Dokument funktioniert, bereiten Sie zuerst zehn leichtere Bilder vor. Die endgültige Datei ist in der Regel einfacher zu verwalten.
Bild in Google Sheets konvertieren: Was Nutzer normalerweise meinen
Der Ausdruck „Bild in Google Sheets konvertieren“ kann verschiedene Bedeutungen haben. Einige Nutzer möchten ein Bild in eine Tabelle einfügen. Andere möchten Tabellendaten aus einem Bild extrahieren, was eine separate OCR- oder Datenextraktionsaufgabe ist.
Wenn Ihr Ziel die visuelle Einfügung ist, komprimieren Sie das Bild, bevor Sie es in die Tabelle einfügen. Dies hält die Tabelle leichter und einfacher zu öffnen. Es ist der richtige Workflow für Fotos, Screenshots, Belege, Produktminiaturen und visuelle Referenzen.
Wenn Ihr Ziel die Extraktion von Text oder Tabellendaten ist, reicht die Bildkomprimierung allein nicht aus. Sie benötigen möglicherweise OCR oder eine manuelle Bereinigung nach der Extraktion. Dennoch kann ein klares Bild nachgeschalteten Tools helfen, den Inhalt genauer zu lesen.
Bildqualität vor dem Hochladen testen
Das Testen ist der am meisten übersehene Teil der Bildkomprimierung. Eine Datei kann als Miniaturansicht gut aussehen, aber fehlschlagen, wenn jemand hineinzoomt. Deshalb sollten Sie die Original- und die komprimierte Version vergleichen, bevor Sie sie in Google Sheets oder Docs platzieren.
Überprüfen Sie die Details, die am wichtigsten sind. Überprüfen Sie bei Screenshots Beschriftungen, Zahlen und Oberflächenelemente. Überprüfen Sie bei Produktfotos Kanten, Farben und wichtige visuelle Merkmale.
Wenn das Bild zu weich aussieht, versuchen Sie eine weniger aggressive Zielgröße. Wenn es immer noch scharf aussieht, können Sie es möglicherweise weiter reduzieren. Das Ziel ist ein brauchbares Gleichgewicht, nicht die kleinstmögliche Datei.
Häufige Fehler, die es zu vermeiden gilt
Ein Fehler ist das direkte Hochladen von hochauflösenden Handyfotos in Google Sheets. Handybilder können viel größer sein, als eine Tabelle benötigt. Das vorherige Komprimieren kann die Tabelle viel einfacher zu teilen machen.
Ein weiterer Fehler ist das visuelle Verkleinern des Bildes, während die Dateigröße ignoriert wird. Das Ziehen an den Ecken kann beim Layout helfen, löst aber möglicherweise nicht das zugrunde liegende Bildgewicht. Echte Komprimierung gibt Ihnen bessere Kontrolle.
Ein dritter Fehler ist die Verwendung eines Formats für jedes Bild. Fotos, Diagramme, Screenshots und Belege verhalten sich unterschiedlich. Wählen Sie das Format und den Komprimierungsgrad basierend auf dem Bildtyp.
Wann Lynote am nützlichsten ist
Lynote Compress Image ist am nützlichsten, wenn Sie Kontrolle benötigen, bevor Sie Bilder in Google-Tools hochladen. Es hilft Ihnen bei der Vorbereitung von Produktblättern, visuellen Berichten, Unterrichtsmaterialien, Projekt-Trackern, Inhaltskalendern oder Dokumentationen. Der Workflow ist einfach genug für ein Bild und praktisch für mehrere Bilder.
Es ist auch nützlich, wenn eine Google-Datei mit Personen geteilt werden muss, die langsamere Verbindungen haben. Kleinere Bilder können das Öffnen und Überprüfen der Datei erleichtern. Dies ist wichtig für Remote-Teams, Studenten, Kunden und Kollaborateure.
Die ehrliche Einschränkung ist, dass Komprimierung immer einen Kompromiss beinhaltet. Sehr aggressive Komprimierung kann Details reduzieren, insbesondere bei textlastigen Screenshots. Deshalb ist es wichtig, das Ergebnis vor dem Herunterladen in der Vorschau anzuzeigen.
FAQs zum Komprimieren von Bildern in Google Sheets
Kann man Bilder direkt in Google Sheets komprimieren?
Google Sheets ermöglicht das Ändern der Größe und Positionierung von Bildern, bietet jedoch keine detaillierten Bildkomprimierungssteuerungen. Für eine bessere Kontrolle komprimieren Sie das Bild vor dem Hochladen. Dies hilft, die Dateigröße zu reduzieren und gleichzeitig die benötigten Details zu erhalten.
Wie komprimiere ich Bilder in Google Sheets?
Verwenden Sie einen Bildkompressor, bevor Sie die Datei einfügen. Mit Lynote Compress Image wählen Sie eine Zielgröße, laden das Bild hoch, sehen sich das Vorher-Nachher-Ergebnis an und laden die komprimierte Version herunter. Fügen Sie dieses Bild dann in Google Sheets ein.
Kann ich Bilder in Google Docs auf die gleiche Weise komprimieren?
Ja, derselbe Pre-Upload-Workflow funktioniert auch für Google Docs. Komprimieren Sie das Bild zuerst, überprüfen Sie die Lesbarkeit und fügen Sie es dann in das Dokument ein. Dies ist besonders nützlich für Berichte, Vorschläge, Anleitungen und bildlastige Dokumente.
Was ist der beste Weg, um Bilder in Google Docs zu verkleinern?
Der beste Weg ist, das Bild vor dem Hinzufügen vorzubereiten. Passen Sie die Größe an das Dokumentenlayout an, komprimieren Sie es auf eine praktische Dateigröße und überprüfen Sie das Ergebnis. Verwenden Sie dann Google Docs für die Platzierung und Formatierung.
Reduziert das Komprimieren von Bildern die Qualität?
Das kann der Fall sein, abhängig vom Komprimierungsgrad und Bildtyp. Fotos vertragen Komprimierung in der Regel besser als Screenshots mit kleinem Text. Zeigen Sie das komprimierte Bild immer in der Vorschau an, bevor Sie es in einer wichtigen Tabelle oder einem Dokument verwenden.
Fazit
Um Bilder in Google Sheets-Workflows gut zu komprimieren, verlassen Sie sich nicht nur auf die visuelle Größenänderung innerhalb von Google Sheets. Bereiten Sie das Bild zuerst vor, wählen Sie das richtige Format, komprimieren Sie es mit einem Tool wie Lynote Compress Image und überprüfen Sie das Ergebnis vor dem Hochladen. Das ergibt eine leichtere Datei, während das Bild für die echte Zusammenarbeit nützlich bleibt.

Verfasst von Janet L. Harris
KI-Schreibspezialistin
Janet überprüft KI-Detektoren und Humanisierungstools, wobei sie sich auf Genauigkeit, Einschränkungen und verantwortungsvollen Gebrauch konzentriert. Alle Artikel ansehen →