
Bilder komprimieren ohne unscharfe Ergebnisse

Wenn Sie wissen möchten, wie man ein Bild ohne Unschärfe komprimiert, lautet die kurze Antwort: Reduzieren Sie die Dateigröße schrittweise, wählen Sie das richtige Format, vermeiden Sie extreme Komprimierung und sehen Sie sich das Ergebnis vor dem Herunterladen an. Bildkomprimierung sollte eine Datei einfacher hochladbar oder teilbar machen, nicht scharfe Fotos in unscharfe, blockige Grafiken verwandeln.
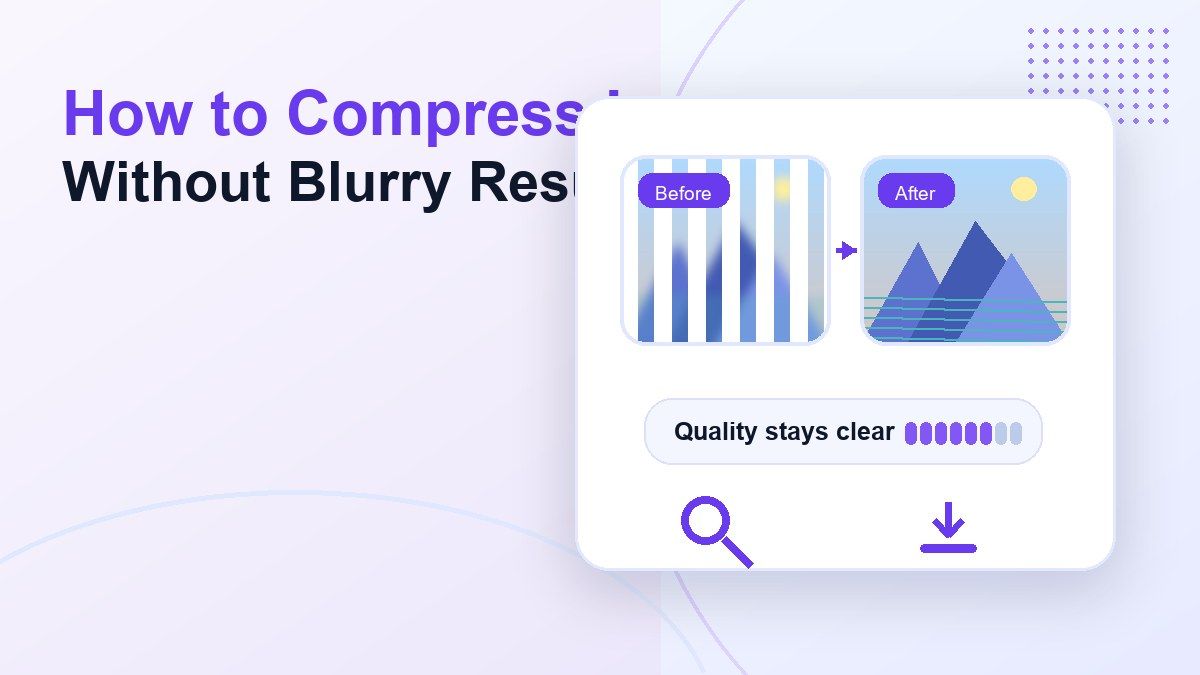
Die Herausforderung besteht darin, dass viele Menschen Bilder erst komprimieren, nachdem eine Plattform eine Datei abgelehnt hat. Diese Eile führt oft dazu, dass die kleinstmögliche Ausgabe gewählt wird, was Details, Text, Gesichter, Produktfotos und Screenshots beschädigen kann. Dieser Leitfaden zeigt, wie man Bilder mit praktischen Einstellungen und einem einfachen Online-Workflow mithilfe von Lynote Compress Image klar komprimiert.
Kurze Antwort: Wie man ein Bild ohne Unschärfe komprimiert
Der beste Weg, ein Bild ohne Unschärfe zu komprimieren, ist, mit einer realistischen Zielgröße anstelle einer extremen zu beginnen. Zum Beispiel kann das Komprimieren eines 12-MB-Fotos auf 2 MB immer noch sauber aussehen, während das Erzwingen auf 100 KB sichtbare Unschärfe oder blockige Kanten erzeugen kann.
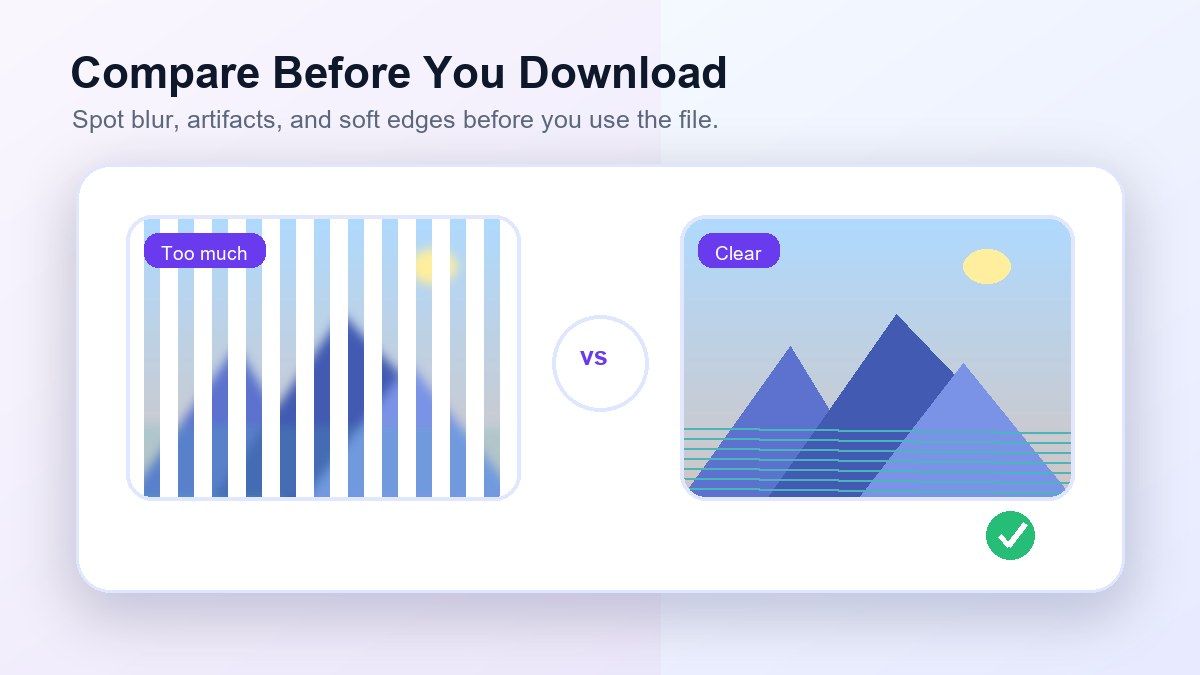
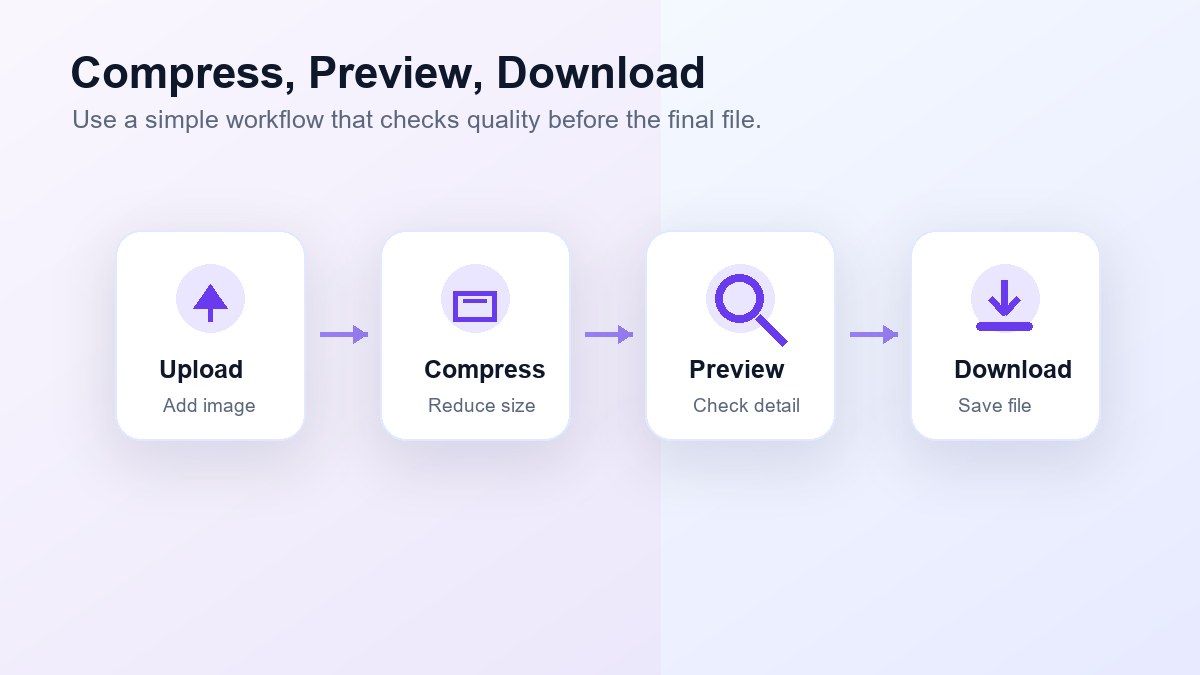
Verwenden Sie JPEG für Fotos, PNG, wenn Sie schärferen Text oder Transparenz benötigen, und WebP, wenn Sie eine starke Webkomprimierung benötigen. Vergleichen Sie nach der Komprimierung die Original- und komprimierte Vorschau, bevor Sie sie herunterladen. Lynote hilft dabei, da Sie eine Zielgröße wählen, Bilder hochladen, Ergebnisse vergleichen und die optimierte Datei herunterladen können.
Warum Bilder nach der Komprimierung unscharf werden
Bilder werden unscharf, wenn zu viele visuelle Daten entfernt werden. Komprimierungsalgorithmen reduzieren die Dateigröße, indem sie Farbe, Textur und Details vereinfachen, aber aggressive Einstellungen können Kanten aufweichen und feine Informationen entfernen.
Dies ist besonders auffällig bei Fotos mit Gesichtern, Landschaften, Produktdetails, Screenshots und Grafiken mit kleinem Text. Wenn Sie lernen, wie man die Dateigröße von Bildern für Uploads komprimiert, ist das Ziel nicht immer die kleinste Datei. Das bessere Ziel ist die kleinste Datei, die für den beabsichtigten Verwendungszweck noch klar genug aussieht.
Verlustbehaftete vs. verlustfreie Komprimierung
Verlustbehaftete Komprimierung entfernt einige Bildinformationen, um die Datei kleiner zu machen. Die JPEG-Komprimierung ist normalerweise verlustbehaftet, weshalb sie bei zu starker Anwendung Unschärfe, Artefakte oder Farbbänder erzeugen kann.
Verlustfreie Komprimierung reduziert die Dateigröße, ohne sichtbare Details zu entfernen, aber die Einsparungen können geringer sein. Die PNG-Optimierung verwendet oft verlustfreie oder nahezu verlustfreie Methoden. Wenn Ihr Bild Text, Symbole, UI-Screenshots oder Diagramme enthält, kann die verlustfreie Komprimierung die Klarheit besser bewahren als eine starke JPEG-Komprimierung.
Beste Formate für klare Bildkomprimierung
| Bildtyp | Bestes Format | Warum es hilft |
|---|---|---|
| Fotos | JPEG oder WebP | Kleinere Dateien mit akzeptablen Details |
| Screenshots | PNG oder WebP | Besser für Text und scharfe Kanten |
| Produktbilder | JPEG oder WebP | Gutes Gleichgewicht zwischen Größe und Klarheit |
| Logos oder Symbole | PNG oder SVG | Hält Kanten sauber |
| Soziale Bilder | JPEG oder WebP | Upload-freundliche Dateigröße |
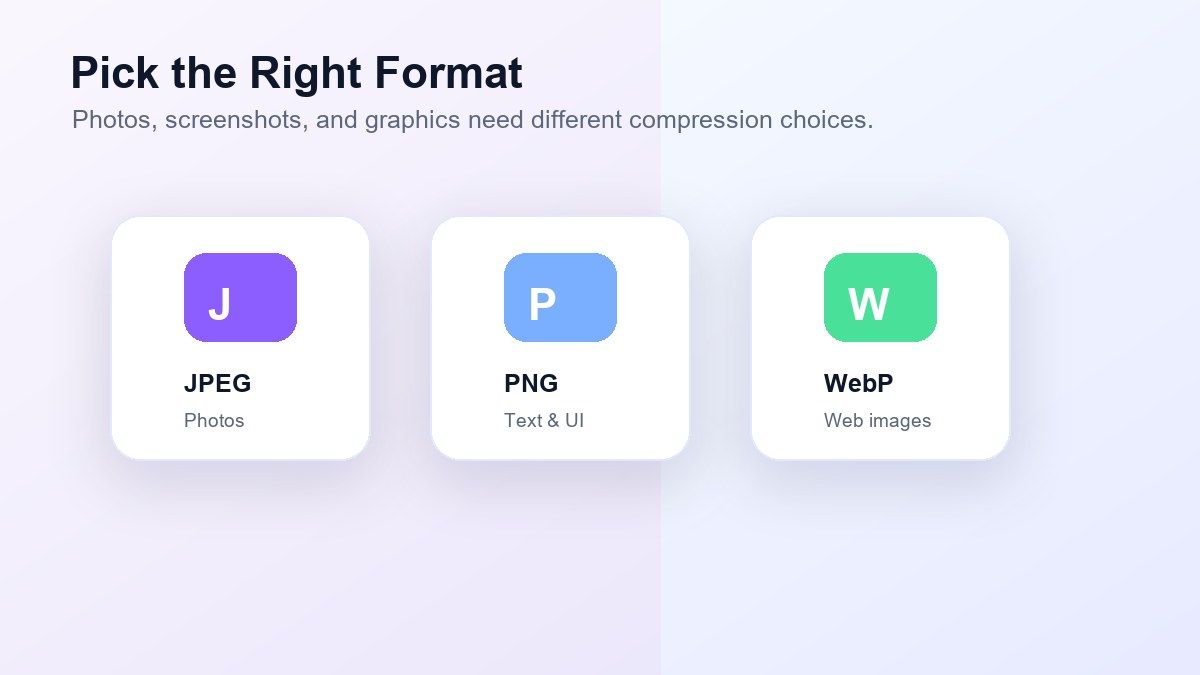
Wenn Sie die JPEG-Bildgröße komprimieren müssen, vermeiden Sie es, dasselbe JPEG immer wieder zu speichern. Jeder Export kann die Qualität weiter reduzieren. Beginnen Sie mit der besten Originaldatei, die Sie haben, und komprimieren Sie dann einmal mit einem vernünftigen Ziel.
Bilder mit Lynote komprimieren
Lynote ist nützlich, wenn Sie einen direkten Browser-Workflow benötigen, anstatt eine Designsoftware zu öffnen. Sie können Lynote Compress Image verwenden, um eine oder mehrere Bilddateien online zu komprimieren, eine Zielgröße zu wählen, das Vorher-Nachher-Ergebnis zu vergleichen und das komprimierte Bild herunterzuladen.
Dies ist eine gute Lösung, wenn Sie die Bildgröße für E-Mails, Websites, Formulare, Schulportale, Online-Anwendungen oder zum Teilen komprimieren müssen. Der Workflow ist einfach genug für schnelle Aufgaben, bietet Ihnen aber immer noch mehr Kontrolle als das blinde Verkleinern eines Bildes.
Schritt 1. Wählen Sie eine realistische Zielgröße
Entscheiden Sie vor dem Hochladen, wie klein das Bild wirklich sein muss. Wenn ein Formular Dateien unter 5 MB zulässt, komprimieren Sie das Bild nicht auf 100 KB, es sei denn, die Plattform verlangt dies ausdrücklich.
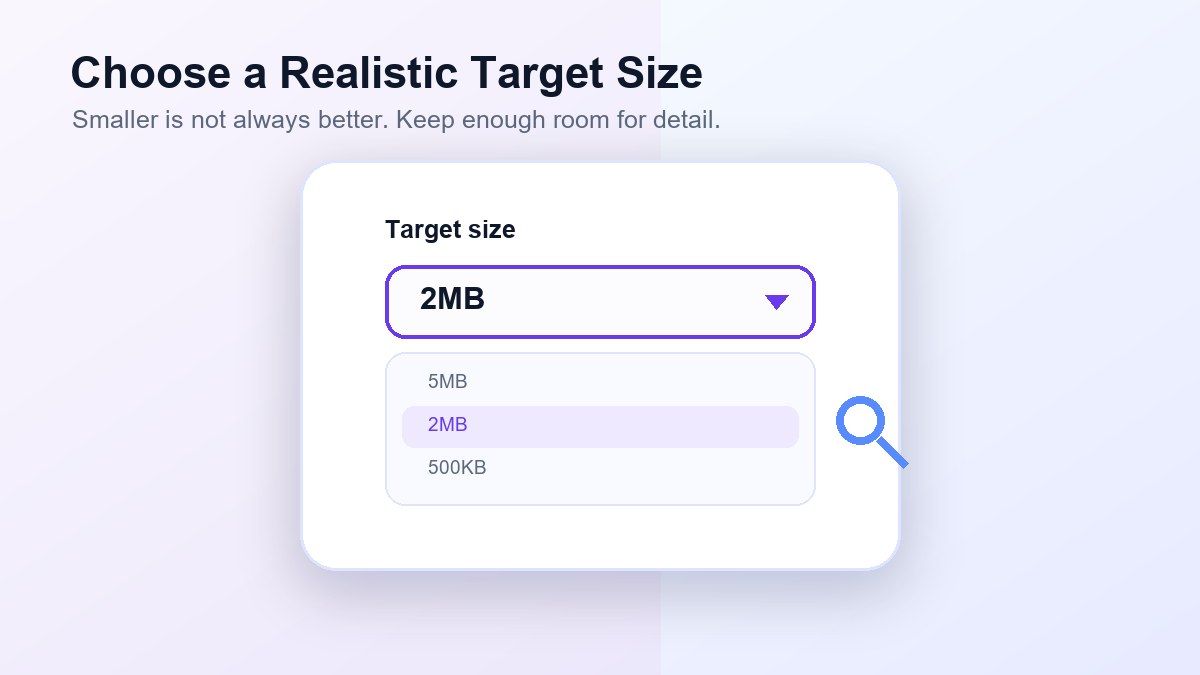
Ein realistisches Ziel hilft Ihnen, ein Bild ohne Qualitätsverlust zu komprimieren. Für große Fotos kann ein Ziel von 1 MB bis 5 MB für viele Online-Anwendungen ausreichen. Bei strengen Formularen wählen Sie die erforderliche Grenze, aber überprüfen Sie das Ergebnis sorgfältig.
Schritt 2. Laden Sie ein oder mehrere Bilder hoch
Ziehen Sie Ihr Bild in den Upload-Bereich oder wählen Sie Dateien von Ihrem Gerät aus. Lynote kann einzelne Bilder oder mehrere Bilder verarbeiten, wenn Sie Bilder stapelweise komprimieren müssen.
Dies ist hilfreich für Website-Bilder, Produktfotos, Screenshots, Portfolio-Dateien oder Dokumentanhänge. Die Stapelkomprimierung spart Zeit, wenn Sie konsistente Ausgabegrößen über mehrere Dateien hinweg benötigen.
Schritt 3. Vorschau des Original- und komprimierten Bildes
Vergleichen Sie nach der Komprimierung das Original- und das komprimierte Bild. Achten Sie auf wichtige Details wie Gesichter, Text, Kanten, Schatten und Farbverläufe.
Dieser Vorschau-Schritt ist wichtig, da die Dateigröße allein nicht aussagt, ob das Bild noch gut aussieht. Wenn das Ergebnis weich oder verpixelt aussieht, wählen Sie eine weniger aggressive Zielgröße und komprimieren Sie erneut.
Schritt 4. Laden Sie das komprimierte Bild herunter
Wenn die Vorschau klar aussieht, laden Sie das komprimierte Bild herunter. Verwenden Sie es für Uploads, E-Mail-Anhänge, Webseiten, Anwendungen oder Cloud-Sharing.
Wenn Sie Bilder für eine Website komprimieren, testen Sie das Bild auf der tatsächlichen Seite. Eine Datei, die in einer kleinen Vorschau gut aussieht, kann Unschärfe aufweisen, wenn sie über ein großes Banner gestreckt wird.
Praktische Zielgrößen für verschiedene Verwendungszwecke
| Anwendungsfall | Empfohlenes Ziel | Hinweise |
|---|---|---|
| E-Mail-Anhang | 500KB-2MB | Hält das Teilen schnell |
| Blog-Bild | 100KB-500KB | Abhängig von der Anzeigegröße |
| Produktfoto | 500KB-2MB | Details und Farben erhalten |
| Profilfoto | 100KB-500KB | Wird normalerweise klein angezeigt |
| Antragsformular | Erforderliche Plattformgrenze | Befolgen Sie die Upload-Regel |
| Portfolio-Bild | 1MB-5MB | Bessere Qualität zur Überprüfung |
Dies sind praktische Ausgangspunkte, keine festen Regeln. Das beste Ziel hängt von der ursprünglichen Bildgröße, den Abmessungen, dem Inhalt und den Plattformanforderungen ab.
JPEG-Bilder ohne Unschärfe komprimieren
JPEG ist verbreitet, weil es Fotos gut komprimiert. Aber wenn Sie wissen möchten, wie man die JPEG-Bildgröße ohne Unschärfe komprimiert, ist Mäßigung der Schlüssel.
Vermeiden Sie sehr niedrige Qualitätseinstellungen, es sei denn, das Bild wird winzig erscheinen. Halten Sie die Bildabmessungen nahe an der Anzeigegröße und komprimieren Sie dann die Datei. Wenn das JPEG Text- oder UI-Elemente enthält, ziehen Sie stattdessen PNG oder WebP in Betracht, da JPEG kleinen Text unscharf erscheinen lassen kann.
Bilddateigröße ohne Qualitätsverlust komprimieren
Es gibt keine magische Einstellung, die jedes Bild identisch hält, während es dramatisch kleiner wird. Sie können jedoch oft die Bilddateigröße ohne sichtbaren Qualitätsverlust komprimieren, indem Sie unnötiges Dateigewicht entfernen.
Ändern Sie zuerst überdimensionierte Abmessungen, verwenden Sie das richtige Format und wählen Sie eine Zielgröße, die der endgültigen Verwendung entspricht. Ein 4000 Pixel breites Foto muss nicht so groß bleiben, wenn es als 900 Pixel breites Blog-Bild angezeigt wird. Das Reduzieren der Abmessungen vor der Komprimierung kann das sichtbare Ergebnis sauberer halten.
Häufige Fehler, die Unschärfe verursachen
Ein häufiger Fehler ist, in einem Schritt zu stark zu komprimieren. Wenn Sie ein sehr großes Foto nehmen und es in eine winzige Datei zwingen, muss der Kompressor viele Informationen entfernen.
Ein weiterer Fehler ist die Verwendung des falschen Formats. Screenshots mit Text sehen als stark komprimierte JPEGs oft schlechter aus. Ein dritter Fehler ist das Hochladen eines komprimierten Bildes, das Herunterladen und dann das erneute Komprimieren dieser heruntergeladenen Version. Arbeiten Sie wann immer möglich mit dem Original.
Best Practices für klare Komprimierung
Verwenden Sie das Original in höchster Qualität, das verfügbar ist. Ein unscharfes Quellbild kann nicht scharf werden, nur weil Sie es sorgfältig komprimieren.
Passen Sie die Bildabmessungen an die endgültige Anzeigegröße an. Behalten Sie keine massiven Abmessungen bei, wenn das Bild nur in einem kleinen Inhaltsblock erscheint. Vergleichen Sie auch Vorher- und Nachher-Bilder in der Größe, in der Benutzer sie tatsächlich sehen werden.
Wann Lynote anstelle von Desktop-Software verwenden?
Desktop-Tools sind nützlich, wenn Sie erweiterte Bearbeitung, Farbkorrektur, Ebenen oder manuelle Exportkontrolle benötigen. Aber sie können langsam sein, wenn die einzige Aufgabe die Reduzierung der Dateigröße ist.
Lynote ist besser für schnelle Online-Komprimierungs-Workflows. Es ist besonders nützlich, wenn Sie Bilder kostenlos komprimieren, mehrere Dateien verarbeiten und das Ergebnis vor dem Herunterladen überprüfen müssen. Der Kompromiss ist, dass erweiterte kreative Bearbeitung immer noch in Designsoftware gehört.
Checkliste: Ein Bild ohne Unschärfe komprimieren
Verwenden Sie diese Checkliste, bevor Sie die endgültige Datei herunterladen:
| Überprüfung | Worauf zu achten ist | | --- | --- | --- | | Dateiziel | Ist die Größenbeschränkung realistisch? | | Format | Ist JPEG, PNG oder WebP die bessere Option? | | Abmessungen | Ist das Bild größer als nötig? | | Details | Sind Gesichter, Text und Kanten noch klar? | | Vorschau | Sieht die komprimierte Version akzeptabel aus? | | Endgültige Verwendung | Funktioniert es im E-Mail-, Web-, Formular- oder Upload-Kontext? |
Diese Checkliste hält den Workflow praktisch. Sie komprimieren nicht nur für eine Zahl; Sie komprimieren für ein brauchbares Ergebnis.
FAQs zum Komprimieren von Bildern ohne Unschärfe
Wie komprimiere ich ein Bild ohne Unschärfe?
Um ein Bild ohne Unschärfe zu komprimieren, wählen Sie eine realistische Zielgröße, vermeiden Sie extreme Komprimierung, verwenden Sie das richtige Format und sehen Sie sich das Ergebnis vor dem Herunterladen an. Lynote kann helfen, da Sie eine Zielgröße wählen und das komprimierte Ergebnis vergleichen können.
Wie komprimiere ich Bilder ohne Qualitätsverlust?
Verwenden Sie die Originaldatei, reduzieren Sie die Abmessungen nur bei Bedarf und vermeiden Sie es, das Bild in eine sehr kleine Dateigröße zu zwingen. Eine gewisse Qualitätsänderung kann bei verlustbehafteter Komprimierung auftreten, aber sorgfältige Einstellungen können den Unterschied schwer bemerkbar machen.
Wie komprimiere ich ein JPEG-Bild?
Um ein JPEG-Bild zu komprimieren, laden Sie es in einen Bildkompressor hoch, wählen Sie eine Zielgröße und laden Sie die optimierte Datei herunter. Halten Sie das Ziel vernünftig, wenn Sie Unschärfe, Artefakte oder Farbverlust vermeiden möchten.
Wie komprimiere ich die Bilddateigröße kostenlos?
Sie können Lynote Compress Image verwenden, um die Bilddateigröße online zu komprimieren. Laden Sie das Bild hoch, wählen Sie eine Zielgröße, sehen Sie sich das Ergebnis an und laden Sie die komprimierte Datei herunter.
Warum sieht mein Bild nach der Komprimierung unscharf aus?
Ihr Bild kann unscharf aussehen, weil die Komprimierungseinstellung zu aggressiv war, die Datei wiederholt gespeichert wurde oder das Format nicht für den Inhalt geeignet war. Versuchen Sie eine größere Zielgröße oder ein Format, das besser zum Bildtyp passt.
Ist PNG besser als JPEG für klare Bilder?
PNG ist oft besser für Screenshots, Text, Symbole und Grafiken mit scharfen Kanten. JPEG ist normalerweise besser für Fotos, da es die Dateigröße effizienter reduzieren kann, aber eine starke JPEG-Komprimierung kann Unschärfe erzeugen.
Fazit
Zu lernen, wie man ein Bild ohne Unschärfe komprimiert, läuft auf ein Gleichgewicht hinaus. Verwenden Sie eine realistische Zielgröße, wählen Sie das richtige Format, vermeiden Sie wiederholte Komprimierung und sehen Sie sich das Ergebnis vor dem Herunterladen an. Für einen schnellen Browser-Workflow bietet Ihnen Lynote Compress Image eine einfache Möglichkeit, Bilder zu komprimieren, die Qualität zu vergleichen und Dateien herunterzuladen, die einfacher hochzuladen und zu teilen sind.

Verfasst von Janet L. Harris
KI-Schreibspezialistin
Janet überprüft KI-Detektoren und Humanisierungstools, wobei sie sich auf Genauigkeit, Einschränkungen und verantwortungsvollen Gebrauch konzentriert. Alle Artikel ansehen →