
Comment compresser des images sans flou

Si vous voulez savoir comment compresser une image sans flou, la réponse courte est la suivante : réduisez la taille du fichier progressivement, choisissez le bon format, évitez la compression extrême et prévisualisez le résultat avant de télécharger. La compression d'image doit faciliter le téléchargement ou le partage d'un fichier, sans transformer des photos nettes en graphiques flous et pixelisés.
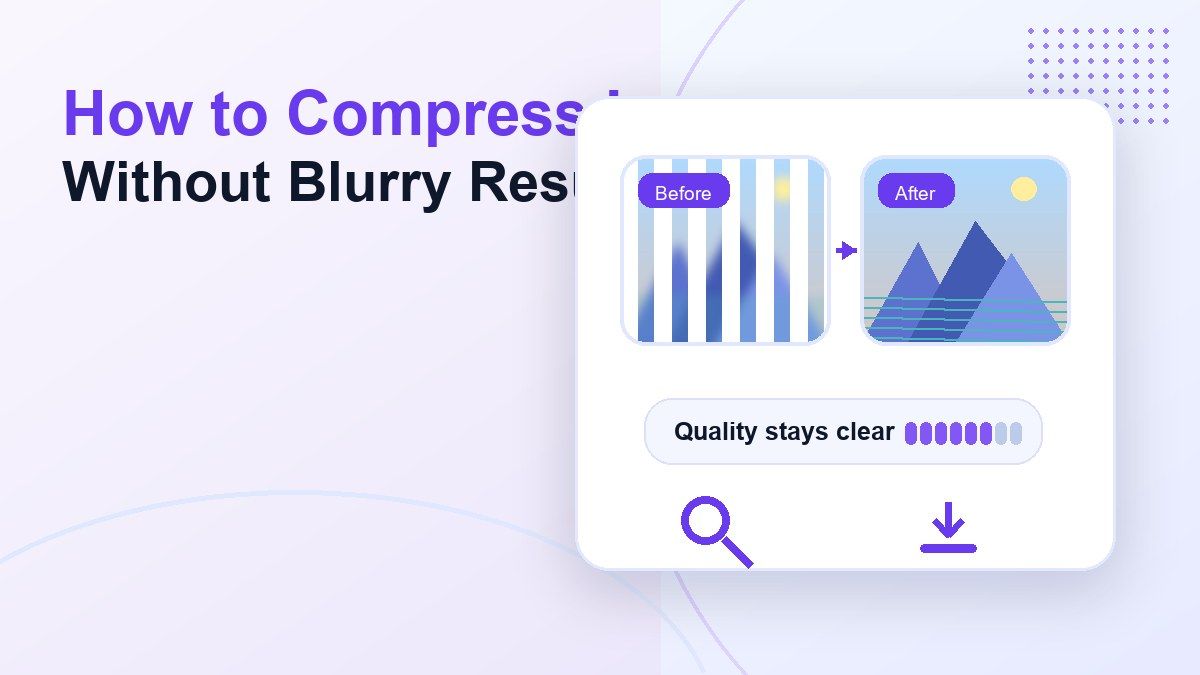
Le défi est que beaucoup de gens compressent des images seulement après qu'une plateforme ait rejeté un fichier. Cette précipitation conduit souvent à choisir la taille de sortie la plus petite possible, ce qui peut endommager les détails, le texte, les visages, les photos de produits et les captures d'écran. Ce guide montre comment compresser des images de manière claire avec des paramètres pratiques et un flux de travail en ligne simple en utilisant Lynote Compresser Image.
Réponse rapide : Comment compresser une image sans flou
La meilleure façon de compresser une image sans flou est de commencer avec une taille cible réaliste plutôt qu'une extrême. Par exemple, compresser une photo de 12 Mo à 2 Mo peut encore sembler propre, tandis que forcer à 100 Ko peut créer un flou visible ou des bords pixelisés.
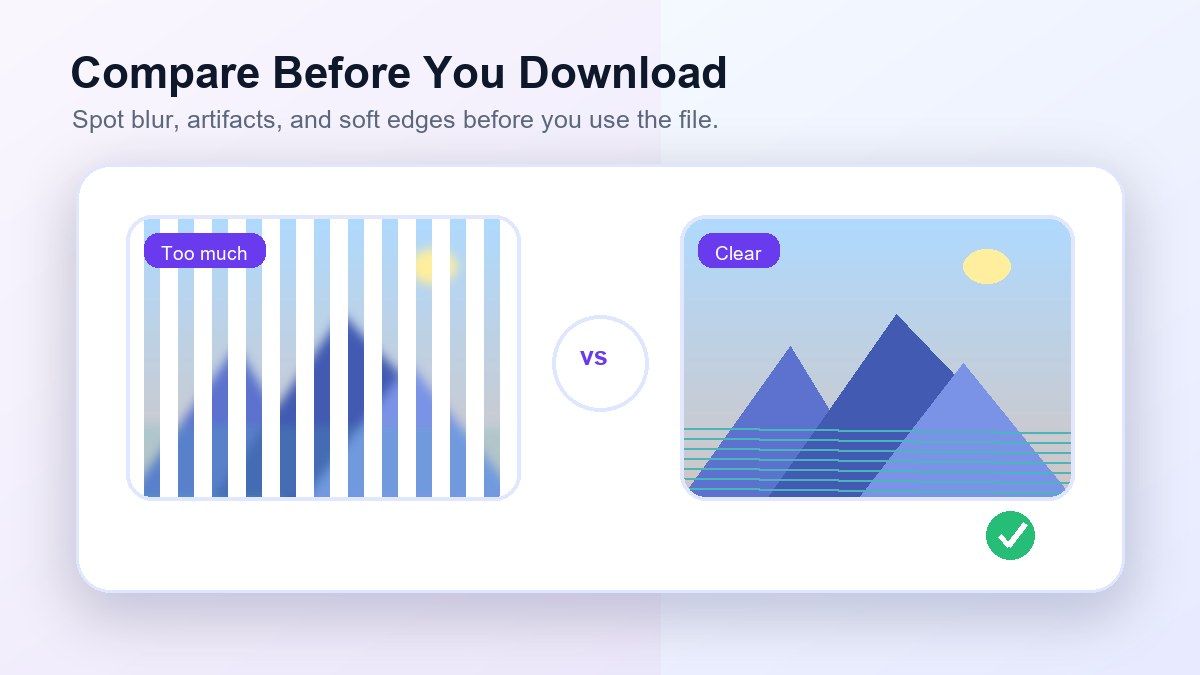
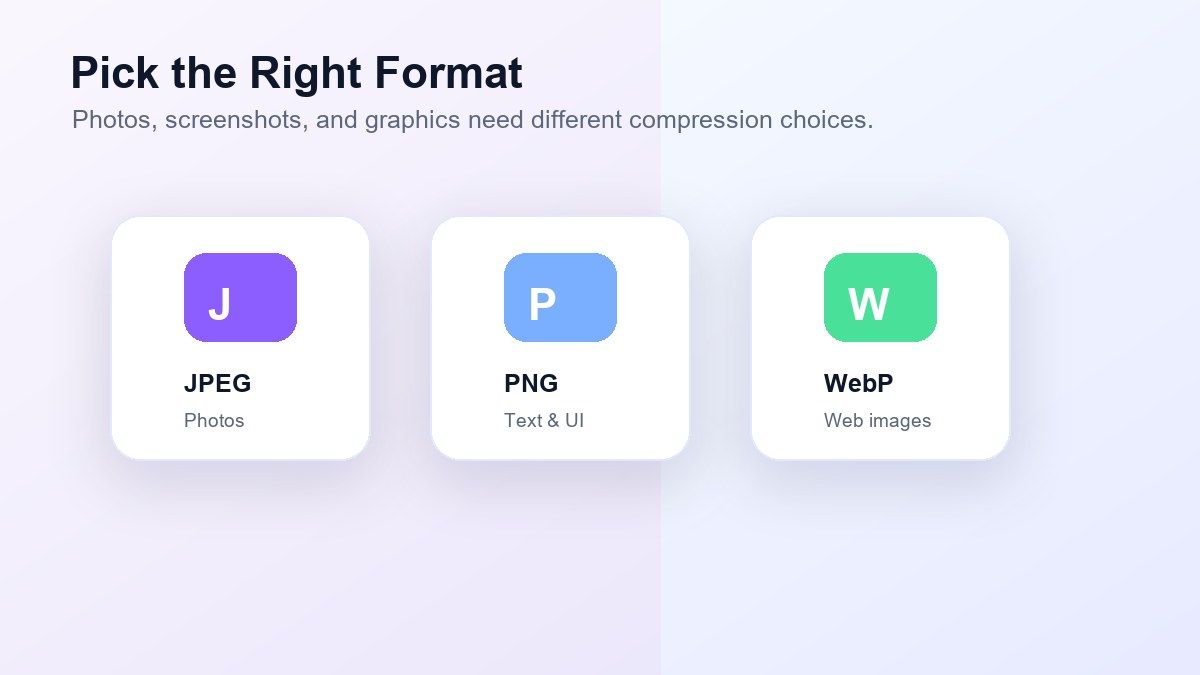
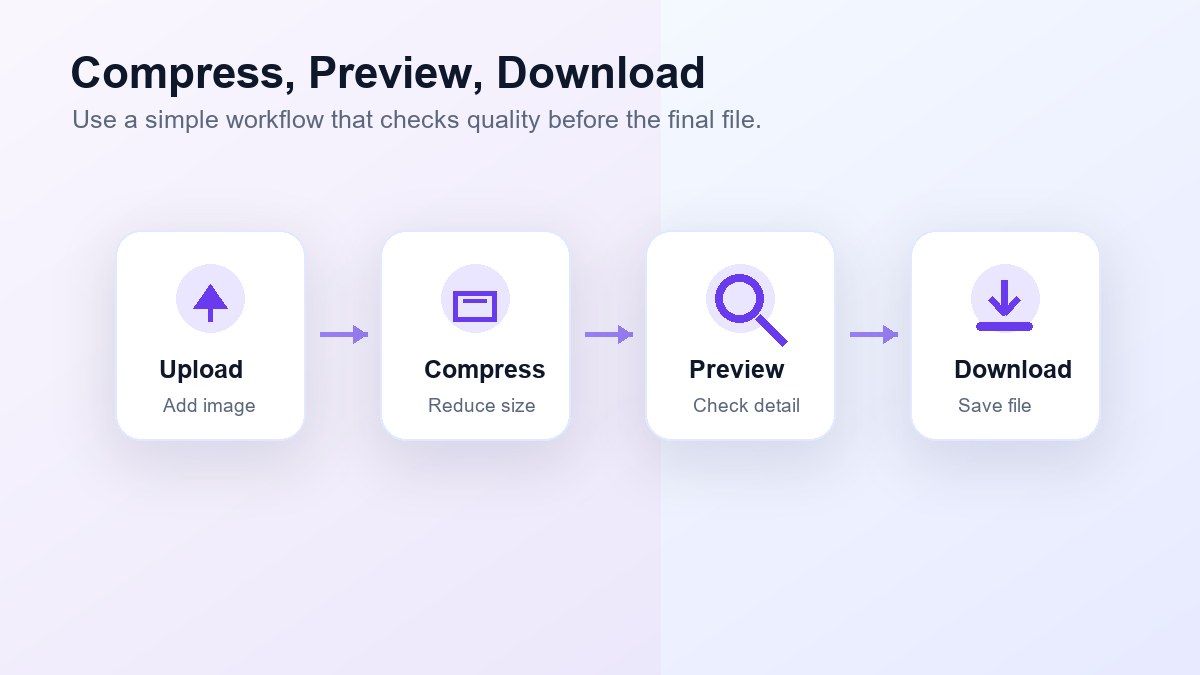
Utilisez le JPEG pour les photos, le PNG lorsque vous avez besoin d'un texte plus net ou de transparence, et le WebP lorsque vous avez besoin d'une forte compression pour le web. Après compression, comparez l'aperçu original et compressé avant de télécharger. Lynote vous aide à cela car vous pouvez choisir une taille cible, télécharger des images, comparer les résultats et télécharger le fichier optimisé.
Pourquoi les images deviennent floues après compression
Les images deviennent floues lorsque trop de données visuelles sont supprimées. Les algorithmes de compression réduisent la taille du fichier en simplifiant la couleur, la texture et les détails, mais des paramètres agressifs peuvent adoucir les bords et supprimer des informations fines.
Cela est particulièrement visible dans les photos avec des visages, des paysages, des détails de produits, des captures d'écran et des graphiques avec du texte petit. Si vous apprenez à compresser la taille des fichiers d'image pour les téléchargements, l'objectif n'est pas toujours le fichier le plus petit. Le meilleur objectif est le fichier le plus petit qui reste suffisamment clair pour l'utilisation prévue.
Compression avec perte vs sans perte
La compression avec perte supprime certaines informations d'image pour réduire la taille du fichier. La compression JPEG est généralement avec perte, c'est pourquoi elle peut créer du flou, des artefacts ou des bandes de couleur lorsqu'elle est poussée trop loin.
La compression sans perte réduit la taille du fichier sans jeter des détails visibles, mais les économies peuvent être plus petites. L'optimisation PNG utilise souvent des méthodes sans perte ou presque sans perte. Si votre image contient du texte, des icônes, des captures d'écran d'interface utilisateur ou des graphiques, la compression sans perte peut mieux préserver la clarté que la compression JPEG lourde.
Meilleurs formats pour une compression d'image claire
| Type d'image | Meilleur format | Pourquoi cela aide |
|---|---|---|
| Photos | JPEG ou WebP | Fichiers plus petits avec un détail acceptable |
| Captures d'écran | PNG ou WebP | Meilleur pour le texte et les bords nets |
| Images de produits | JPEG ou WebP | Bon équilibre entre taille et clarté |
| Logos ou icônes | PNG ou SVG | Garde les bords nets |
| Images sociales | JPEG ou WebP | Taille de fichier adaptée au téléchargement |
Si vous devez compresser la taille d'une image JPEG, évitez de sauvegarder le même JPEG encore et encore. Chaque exportation peut réduire davantage la qualité. Commencez avec le meilleur fichier original que vous avez, puis compressez une fois avec une cible raisonnable.
Comment compresser des images avec Lynote
Lynote est utile lorsque vous avez besoin d'un flux de travail direct dans le navigateur au lieu d'ouvrir un logiciel de conception. Vous pouvez utiliser Lynote Compresser Image pour compresser un ou plusieurs fichiers image en ligne, choisir une taille cible, comparer le résultat avant et après, et télécharger l'image compressée.
C'est un bon choix lorsque vous devez compresser la taille d'image pour des e-mails, des sites web, des formulaires, des portails scolaires, des candidatures en ligne ou des partages. Le flux de travail est suffisamment simple pour des tâches rapides mais vous donne toujours plus de contrôle que de réduire aveuglément une image.
Étape 1. Choisissez une taille cible réaliste
Avant de télécharger, décidez à quelle taille l'image doit vraiment être. Si un formulaire autorise des fichiers de moins de 5 Mo, ne compressez pas l'image à 100 Ko à moins que la plateforme ne le demande spécifiquement.
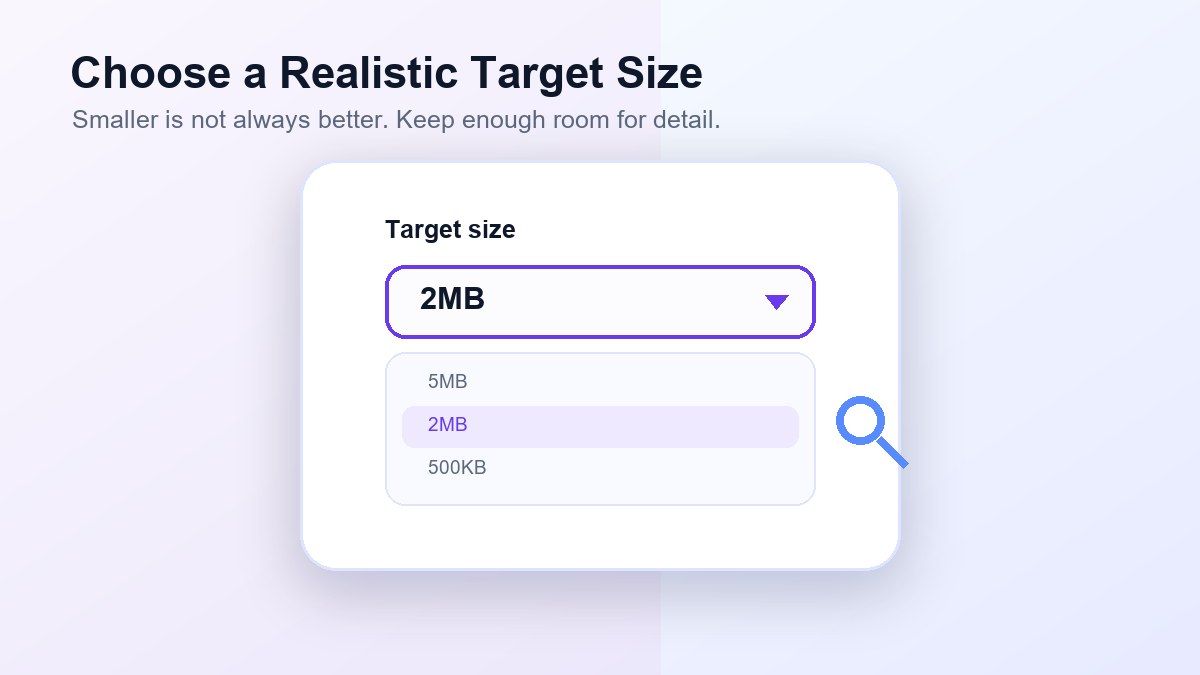
Une taille cible réaliste vous aide à compresser une image sans perdre en qualité. Pour les grandes photos, une cible de 1 Mo à 5 Mo peut suffire pour de nombreuses utilisations en ligne. Pour des formulaires stricts, choisissez la limite requise mais prévisualisez soigneusement le résultat.
Étape 2. Téléchargez une ou plusieurs images
Glissez votre image dans la zone de téléchargement ou choisissez des fichiers depuis votre appareil. Lynote peut gérer des images uniques ou plusieurs images lorsque vous devez compresser des images en lot.
Cela est utile pour les images de site web, les photos de produits, les captures d'écran, les fichiers de portfolio ou les pièces jointes de documents. La compression par lot permet de gagner du temps lorsque vous avez besoin de tailles de sortie cohérentes pour plusieurs fichiers.
Étape 3. Prévisualisez l'image originale et l'image compressée
Après compression, comparez l'image originale et l'image compressée. Examinez les détails importants tels que les visages, le texte, les bords, les ombres et les dégradés de couleur.
Cette étape de prévisualisation est importante car la taille du fichier à elle seule ne vous dit pas si l'image a toujours l'air bonne. Si le résultat semble flou ou pixelisé, choisissez une taille cible moins agressive et compressez à nouveau.
Étape 4. Téléchargez l'image compressée
Lorsque la prévisualisation semble claire, téléchargez l'image compressée. Utilisez-la pour des téléchargements, des pièces jointes par e-mail, des pages web, des applications ou un partage dans le cloud.
Si vous compressez des images pour un site web, testez l'image sur la page réelle. Un fichier qui semble correct dans une petite prévisualisation peut révéler du flou lorsqu'il est étendu sur une grande bannière.
Cibles de taille pratiques pour différents usages
| Cas d'utilisation | Cible suggérée | Remarques |
|---|---|---|
| Pièce jointe d'e-mail | 500Ko-2Mo | Permet un partage rapide |
| Image de blog | 100Ko-500Ko | Dépend de la taille d'affichage |
| Photo de produit | 500Ko-2Mo | Préserve les détails et les couleurs |
| Photo de profil | 100Ko-500Ko | Généralement affichée petite |
| Formulaire de candidature | Limite de la plateforme requise | Suivez la règle de téléchargement |
| Image de portfolio | 1Mo-5Mo | Meilleure qualité pour révision |
Ce sont des points de départ pratiques, pas des règles fixes. La meilleure cible dépend de la taille originale de l'image, de ses dimensions, de son contenu et des exigences de la plateforme.
Comment compresser des images JPEG sans flou
Le JPEG est courant car il compresse bien les photos. Mais si vous voulez savoir comment compresser la taille de fichier d'une image JPEG sans flou, la clé est la modération.
Évitez les réglages de très basse qualité à moins que l'image ne soit très petite. Gardez les dimensions de l'image proches de la taille d'affichage, puis compressez le fichier. Si le JPEG contient du texte ou des éléments d'interface, envisagez plutôt le PNG ou le WebP car le JPEG peut rendre le petit texte flou.
Comment compresser la taille de fichier d'image sans perte de qualité
Il n'existe pas de réglage magique qui garde chaque image identique tout en la rendant beaucoup plus petite. Cependant, vous pouvez souvent compresser la taille de fichier d'image sans perte de qualité visible en supprimant le poids de fichier inutile.
Redimensionnez d'abord les dimensions trop grandes, utilisez le bon format et choisissez une taille cible qui correspond à l'utilisation finale. Une photo de 4000px de large n'a pas besoin de rester aussi grande si elle sera affichée comme une image de blog de 900px. Réduire les dimensions avant la compression peut garder le résultat visible plus propre.
Erreurs courantes qui causent du flou
Une erreur courante est de compresser trop loin en une seule étape. Si vous prenez une photo très grande et que vous la forcez dans un fichier très petit, le compresseur doit supprimer beaucoup d'informations.
Une autre erreur est d'utiliser le mauvais format. Les captures d'écran avec du texte ont souvent l'air pire en tant que JPEGs fortement compressés. Une troisième erreur est de télécharger une image compressée, de la télécharger, puis de compresser à nouveau cette version téléchargée. Travaillez à partir de l'original chaque fois que cela est possible.
Meilleures pratiques pour une compression claire
Utilisez l'original de la plus haute qualité disponible. Une image source floue ne peut pas devenir nette simplement parce que vous la compressez soigneusement.
Ajustez les dimensions de l'image à la taille d'affichage finale. Ne gardez pas des dimensions massives si l'image n'apparaît que dans un petit bloc de contenu. De plus, comparez les images avant et après à la taille à laquelle les utilisateurs les verront réellement.
Quand utiliser Lynote plutôt que des logiciels de bureau
Les outils de bureau sont utiles lorsque vous avez besoin d'édition avancée, de correction des couleurs, de calques ou de contrôle d'exportation manuel. Mais ils peuvent être lents lorsque le seul travail consiste à réduire la taille du fichier.
Lynote est meilleur pour des flux de travail de compression en ligne rapides. Il est particulièrement utile lorsque vous devez compresser des images gratuitement, gérer plusieurs fichiers et vérifier le résultat avant de télécharger. L'inconvénient est que l'édition créative avancée appartient toujours aux logiciels de design.
Liste de contrôle : compresser une image sans flou
Utilisez cette liste de contrôle avant de télécharger le fichier final :
| Vérifier | Ce qu'il faut rechercher |
|---|---|
| Taille cible | La limite de taille est-elle réaliste ? |
| Format | JPEG, PNG ou WebP, quel est le meilleur choix ? |
| Dimensions | L'image est-elle plus grande que nécessaire ? |
| Détails | Les visages, le texte et les contours sont-ils encore clairs ? |
| Aperçu | La version compressée semble-t-elle acceptable ? |
| Utilisation finale | Cela fonctionne-t-il dans un email, sur le web, dans un formulaire ou lors d'un téléchargement ? |
Cette liste de contrôle rend le flux de travail pratique. Vous ne compressez pas juste pour un chiffre ; vous compressez pour un résultat utilisable.
Questions Fréquemment Posées sur la Compression d'Images Sans Flou
Comment compresser une image sans flou ?
Pour compresser une image sans flou, choisissez une taille cible réaliste, évitez la compression extrême, utilisez le bon format et prévisualisez le résultat avant de télécharger. Lynote peut vous aider car il vous permet de choisir une taille cible et de comparer le résultat compressé.
Comment compresser des images sans perdre en qualité ?
Utilisez le fichier original, réduisez les dimensions uniquement si nécessaire et évitez de forcer l'image dans une taille de fichier très petite. Un léger changement de qualité peut se produire avec la compression avec perte, mais des réglages prudents peuvent rendre la différence difficile à remarquer.
Comment compresser une image JPEG ?
Pour compresser une image JPEG, téléchargez-la sur un compresseur d'images, choisissez une taille cible et téléchargez le fichier optimisé. Gardez la taille cible raisonnable si vous voulez éviter le flou, les artefacts ou la perte de couleur.
Comment compresser la taille d'un fichier image gratuitement ?
Vous pouvez utiliser Lynote Compress Image pour compresser la taille d'un fichier image en ligne. Téléchargez l'image, choisissez une taille cible, prévisualisez le résultat et téléchargez le fichier compressé.
Pourquoi mon image semble-t-elle floue après compression ?
Votre image peut sembler floue parce que le réglage de compression était trop agressif, le fichier a été enregistré plusieurs fois, ou le format n'était pas adapté au contenu. Essayez une taille cible plus grande ou un format mieux adapté au type d'image.
Le PNG est-il meilleur que le JPEG pour des images claires ?
Le PNG est souvent meilleur pour les captures d'écran, le texte, les icônes et les graphiques avec des contours nets. Le JPEG est généralement meilleur pour les photos car il peut réduire la taille du fichier plus efficacement, mais une compression JPEG excessive peut créer du flou.
Verdict Final
Apprendre comment compresser une image sans flou revient à trouver un équilibre. Utilisez une taille cible réaliste, choisissez le bon format, évitez la compression répétée et prévisualisez le résultat avant de télécharger. Pour un flux de travail rapide dans le navigateur, Lynote Compress Image vous offre un moyen simple de compresser des images, de comparer la qualité et de télécharger des fichiers plus faciles à uploader et à partager.

Écrit par Janet L. Harris
Spécialiste en rédaction IA
Janet évalue les détecteurs d'IA et les outils d'humanisation, en se concentrant sur leur précision, leurs limites et leur utilisation responsable. Voir tous les articles →