
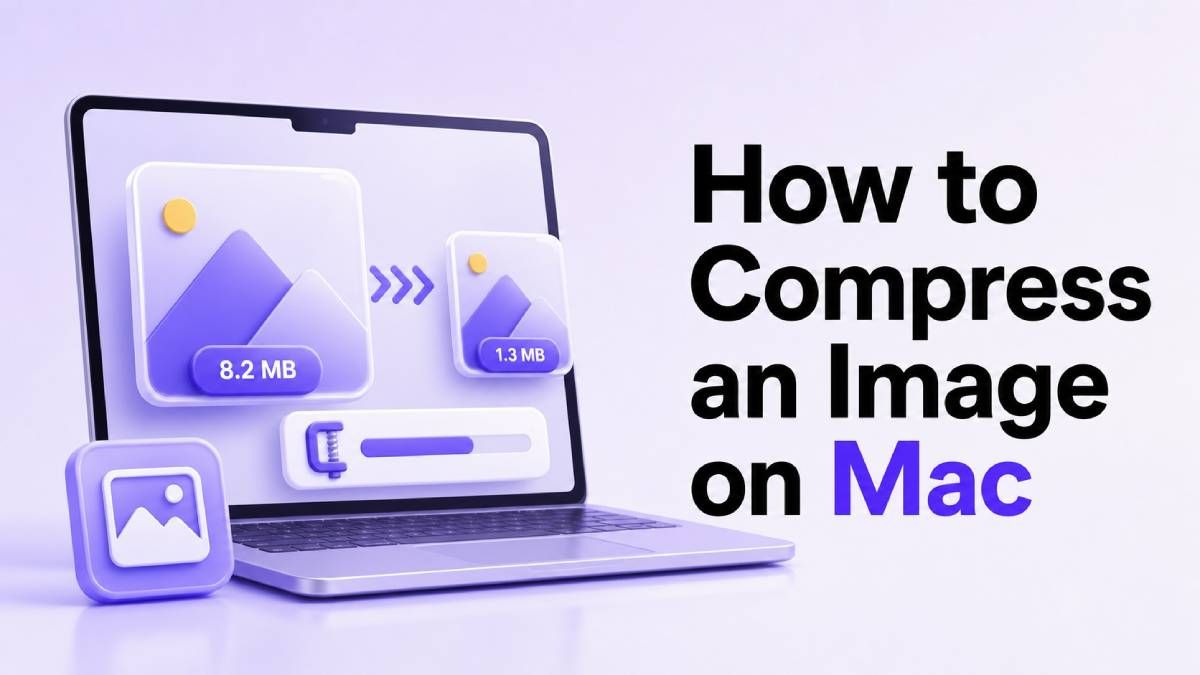
Como comprimir uma imagem no Mac
Se você quer saber como comprimir uma imagem no Mac, as opções mais rápidas são o Pré-visualização, o Fotos, o Atalhos ou um compressor de imagens online como o Lynote. O Mac já inclui ferramentas simples para reduzir o tamanho das imagens, mas o melhor método depende se você precisa de uma foto menor, várias imagens, um tamanho alvo em KB ou um melhor controle sobre a qualidade.
Neste guia, você aprenderá como comprimir imagens no Mac usando aplicativos integrados e ferramentas baseadas em navegador. Também compararemos os melhores métodos, explicaremos quando usar cada um e mostraremos como o Lynote pode ajudar quando você precisa de compressão rápida sem instalar software adicional.
Por que comprimir imagens no Mac?
Imagens grandes podem ser difíceis de enviar por upload, e-mail ou compartilhar por meio de formulários com limites de tamanho de arquivo rígidos. Se você usa um MacBook para estudar, trabalhar, criar blogs, fazer e-commerce ou usar redes sociais, reduzir o tamanho dos arquivos de imagem pode tornar seu fluxo de trabalho muito mais eficiente.
Saber como comprimir o tamanho de imagens no Mac também é útil para o desempenho do seu site. Arquivos de imagem menores carregam mais rápido, usam menos espaço de armazenamento e são mais fáceis de enviar, mantendo a imagem nítida o suficiente para uso prático.
A chave é reduzir o tamanho do arquivo sem que a imagem fique borrada ou pixelizada. É por isso que escolher o método de compressão certo é importante.
Método 1: Comprimir uma imagem no Mac com o Pré-Visualização
O Pré-Visualização é a opção integrada mais fácil se você precisar comprimir apenas uma imagem no Mac. Ele funciona bem com JPG, PNG e outros formatos de imagem comuns, e você não precisa instalar nada.
Passo 1: Abra a imagem no Pré-Visualização
Encontre a imagem no Finder e clique duas vezes nela. Na maioria dos casos, o macOS abre o arquivo no Pré-Visualização automaticamente.
Se outro aplicativo abrir, clique com o botão direito na imagem, escolha "Abrir com" e selecione "Pré-Visualização". Esta é a maneira mais simples de começar se você estiver aprendendo a compactar imagens no Mac pela primeira vez.
Passo 2: Exportar a Imagem
No Pré-visualização, clique em "Arquivo" no menu superior e escolha "Exportar". Não escolha "Salvar" se quiser manter o arquivo original intacto.
A exportação cria uma nova versão compactada. Isso é útil quando você deseja comparar a imagem original com a versão menor.
Passo 3: Ajustar Formato e Qualidade
Escolha JPEG como formato se quiser um arquivo menor. Em seguida, mova o controle deslizante de qualidade para a esquerda ou para a direita até que o tamanho estimado do arquivo esteja adequado.
Para a maioria das fotos, uma configuração de qualidade média-alta oferece um bom equilíbrio. Se o seu objetivo é compactar o tamanho da imagem no Mac para formulários de upload, verifique o tamanho do arquivo cuidadosamente antes de salvar.
Método 2: Redimensionar as Dimensões da Imagem no Pré-visualização
Às vezes, o arquivo fica grande porque as dimensões da imagem são muito grandes. Por exemplo, uma foto de 4000 pixels pode ser desnecessária se você precisar dela apenas como foto de perfil, para upload de documentos ou como miniatura de um blog.
Passo 1: Abra as Ferramentas de Marcação
Abra a imagem no Pré-visualização e clique no ícone de Marcação. Em seguida, escolha a ferramenta de redimensionamento na barra de ferramentas.
Você pode alterar a largura, a altura e a resolução. Este método é útil quando você deseja compactar o tamanho da imagem no Mac, reduzindo as dimensões e o tamanho do arquivo.
Passo 2: Escolha Dimensões Menores
Insira uma largura menor, como 1200 pixels ou 1600 pixels, dependendo do seu caso. Certifique-se de que a opção "Escalar proporcionalmente" esteja selecionada para que a imagem não fique distorcida.
Após redimensionar, salve ou exporte a nova versão. Esta é uma das maneiras mais confiáveis de compactar imagens no Mac quando a foto original é muito maior do que o necessário.
Método 3: Compactar Imagens no Mac com o app Fotos
O app Fotos é útil se suas imagens já estiverem armazenadas na biblioteca de fotos do seu Mac. Oferece uma opção de exportação rápida que pode reduzir o tamanho do arquivo sem precisar abrir cada imagem no Pré-visualização.
Passo 1: Selecione a Imagem
Abra o Fotos e selecione a(s) imagem(ns) que deseja reduzir o tamanho. Isso é conveniente se você precisar compactar imagens que usuários de Mac importaram do iPhone ou iCloud.
Você pode selecionar várias imagens de uma só vez. Isso torna o Fotos mais eficiente do que o Pré-visualização para pequenos lotes.
Passo 2: Exporte com Configurações Menores
Clique em "Arquivo" e escolha "Exportar". Selecione JPEG como tipo de arquivo e escolha uma qualidade inferior ou um tamanho menor.
O Fotos nem sempre oferece controle preciso de KB, mas funciona bem para compressão geral. Se você precisar de um tamanho de arquivo específico, como 100 KB ou 200 KB, um compressor online pode ser melhor.
Método 4: Use Atalhos para Compactar Imagens no MacBook
Os Atalhos podem automatizar a compressão de imagens se você repetir a mesma tarefa com frequência. Isso é útil para pessoas que redimensionam regularmente capturas de tela, imagens de produtos ou fotos de documentos.
Passo 1: Criar um Atalho de Imagem
Abra o app Atalhos no seu Mac. Crie um atalho que receba arquivos de imagem e os redimensione ou converta.
Você pode adicionar ações como "Redimensionar Imagem", "Converter Imagem" e "Salvar Arquivo". Depois de configurado, este se torna um método rápido para compactar imagens no MacBook a partir do Finder.
Passo 2: Executar o Atalho a partir do Finder
Após criar o atalho, você pode usá-lo no menu de ações rápidas do Finder. Selecione sua imagem, clique com o botão direito e execute o atalho.
Este método é ideal para fluxos de trabalho repetitivos. Se você precisar compactar apenas uma imagem ocasionalmente, o Pré-visualização ou o Lynote geralmente serão mais rápidos.
Método 5: Compactar Imagens Online com o Lynote
Se você deseja uma opção mais rápida baseada em navegador, pode usar o compressor de imagens Lynote. Ele funciona online, permitindo compactar arquivos de imagem no Mac sem instalar um aplicativo separado.
O Lynote é especialmente útil quando você precisa de um tamanho de arquivo específico. Você pode escolher opções como 10 KB, 30 KB, 50 KB ou 100 KB, fazer o upload da sua imagem e baixar o resultado compactado.
Passo 1: Abra o Lynote Image Compressor
Acesse https://lynote.ai/compress-image no Safari, Chrome ou outro navegador do seu Mac. A ferramenta suporta formatos populares como JPG, PNG, WebP e HEIC.
Isso a torna prática para usuários de Mac e iPhone. O suporte a HEIC é útil porque muitas fotos da Apple são salvas nesse formato.
Passo 2: Escolha um tamanho de destino
Selecione o tamanho de destino desejado antes de fazer o upload. Isso é útil quando um site, portal escolar, formulário de visto ou candidatura a emprego exige um arquivo com um limite específico.
Se você está procurando como compactar o tamanho de uma imagem no Mac porque um formulário rejeitou seu upload, essa abordagem costuma ser mais fácil do que tentar ajustar a qualidade manualmente.
Passo 3: Carregar, Visualizar e Baixar
Arraste sua imagem para a área de carregamento ou clique para selecioná-la. O Lynote comprime a imagem automaticamente e permite comparar a versão original com a comprimida.
Após verificar o resultado, baixe o arquivo otimizado. Esta é uma maneira simples de comprimir imagens no Mac quando você deseja velocidade, compressão em lote e uma comparação clara do tamanho do arquivo antes e depois.
Comparação das Melhores Maneiras de Comprimir Imagens no Mac
| Método | Ideal para | Principal Vantagem | Limitação |
| --- | --- | --- | --- |
| Exportar com Pré-visualização | Uma imagem | Integrado ao macOS | Sem limite exato de KB |
| Redimensionar com Pré-visualização | Imagens grandes | Reduz dimensões e tamanho | Processo manual |
| Exportar Fotos | Imagens da biblioteca de fotos | Fácil para fotos selecionadas | Controle limitado |
| Atalhos | Fluxos de trabalho repetitivos | Automação | Requer configuração |
| Lynote | Compressão online rápida | Tamanho alvo, suporte a lote, pré-visualização | Requer upload pelo navegador |
Se você precisar comprimir uma imagem no Mac apenas uma vez, o Preview é suficiente. Se precisar comprimir várias imagens no Mac ou atender a um limite de tamanho de arquivo rigoroso, o Lynote geralmente é mais conveniente.
Dicas para manter a alta qualidade da imagem
Comece com a imagem original mais nítida possível. Uma foto desfocada ou escura não ficará mais nítida após a compressão.
Use JPEG para fotos, PNG para gráficos com texto ou transparência e WebP quando precisar de alta compressão para uso na web. Escolher o formato certo pode reduzir o tamanho do arquivo sem danificar muito a imagem.
Evite comprimir a mesma imagem repetidamente. A compressão repetida pode reduzir a qualidade gradualmente, especialmente com arquivos JPEG.
Problemas comuns ao comprimir imagens no Mac
| Problema | Possível causa | Solução |
| --- | --- | --- |
| O arquivo ainda está muito grande | As dimensões estão muito grandes | Redimensione a largura e a altura |
| A imagem está desfocada | A compressão está muito forte | Usar configuração de qualidade superior |
| Formulário de upload rejeita arquivo | Arquivo excede o limite de KB | Usar tamanho de destino do Lynote |
| PNG permanece grande | PNG não é ideal para fotos | Converter para JPEG ou WebP |
| Compressão em lote é lenta | Fluxo de trabalho de visualização manual | Usar Fotos, Atalhos ou Lynote |
Ao aprender como comprimir imagens em um Mac, o erro mais comum é alterar apenas a qualidade. Em muitos casos, reduzir as dimensões primeiro proporciona um resultado melhor.
Quando usar o Lynote?
Use o Lynote quando precisar de um fluxo de trabalho online rápido e não quiser ajustar várias configurações do Mac manualmente. É uma boa opção para estudantes, criadores de conteúdo, proprietários de sites, vendedores de e-commerce e usuários comuns que precisam de arquivos de imagem menores rapidamente.
Também é útil quando você precisa comprimir imagens que as ferramentas do Mac não conseguem controlar facilmente pelo tamanho de destino. Em vez de testar várias exportações, você pode escolher um tamanho de arquivo e visualizar o resultado.
Para arquivos com privacidade sensível ou que só podem ser visualizados offline, você pode preferir o Preview ou outro aplicativo local do Mac. Para o upload, compartilhamento e otimização web do dia a dia, o Lynote oferece um fluxo de trabalho mais rápido.
Perguntas Frequentes
Como comprimir uma imagem no Mac?
Você pode comprimir uma imagem no Mac usando o Pré-Visualização, o Fotos, o Atalhos ou uma ferramenta online como o Lynote. O Pré-Visualização é ideal para compressão manual rápida, enquanto o Lynote é melhor quando você precisa de um tamanho de arquivo alvo.
Como comprimir o tamanho da imagem no Mac sem perder qualidade?
Use compressão moderada e evite reduzir a qualidade de forma muito agressiva. Você também pode redimensionar as dimensões maiores primeiro, o que geralmente reduz o tamanho do arquivo, mantendo a nitidez da imagem.
Como comprimir várias imagens no Mac em lote?
Você pode usar o Fotos, o Atalhos ou a compressão em lote do Lynote. O Lynote é a opção mais fácil se você quiser enviar várias imagens e comprimi-las online sem criar uma automação.
Como comprimir uma imagem no MacBook para enviar por e-mail?
Exporte a imagem como JPEG no Pré-Visualização ou envie-a para o Lynote e escolha um tamanho alvo menor. Para anexos de e-mail, um JPEG menor geralmente funciona melhor do que um PNG grande.
Posso comprimir imagens HEIC no Mac?
Sim. Você pode converter imagens HEIC usando o Pré-Visualização ou um compressor online compatível com HEIC. O Lynote é compatível com formatos comuns, incluindo JPG, PNG, WebP e HEIC.
Qual a melhor maneira de comprimir o tamanho de uma imagem no Mac?
O melhor método depende do seu objetivo. Use o Pré-Visualização para uma única imagem, Atalhos para tarefas repetitivas e o Lynote quando precisar de compressão rápida, processamento em lote ou um tamanho de arquivo específico.
Conclusão
A maneira mais fácil de aprender como comprimir uma imagem no Mac é começar com o Pré-Visualização para edições simples e usar o Lynote quando precisar de compressão online mais rápida ou um tamanho de arquivo específico. Para trabalho em lote, limites de upload rigorosos e visualizações rápidas, o Lynote é a opção mais conveniente para usuários de Mac.