
How to Compress an Image in Krita

If you want to compress an image in Krita, the best approach is to resize it carefully, choose the right export format, and reduce file weight without ruining visual quality. Krita is a powerful free painting and image editing tool, but many users are unsure where resizing, canvas settings, and export options fit into the compression process.
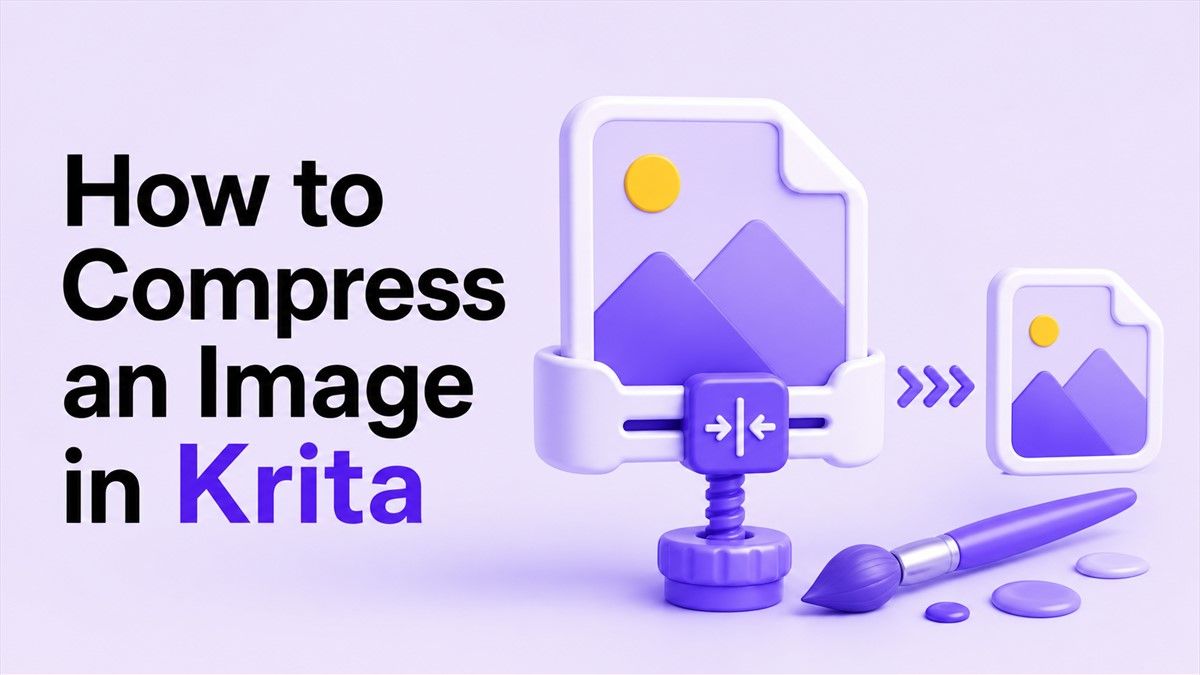
Whether you are preparing artwork for a website, email, portfolio, marketplace listing, or social media post, file size matters. Large images can load slowly, take longer to upload, and use more storage than necessary. In this guide, you will learn how to compress an image in Krita and when to use an online image compressor like Lynote Image Compressor for faster results.
Why Should You Compress Images in Krita?
Image compression helps reduce file size while keeping the image visually clear. If your artwork or screenshot is too large, it can slow down websites, make sharing harder, and create unnecessary upload issues. This is especially common when working with high-resolution illustrations, PNG files, or layered exports.
Many users search for krita reduce file size because their final image is much larger than expected. Krita files can become heavy when the canvas is large, the resolution is high, or the export format is not optimized. Learning how to compress an image in Krita gives you more control before you share or publish your work.
Compression is also useful when you need to meet upload limits. Some websites, forms, and marketplaces only accept images under a certain size. Instead of repeatedly exporting random versions, you can follow a cleaner workflow to resize, export, and compress the image properly.
How to Compress an Image in Krita
There are three simple ways to reduce image file size when using Krita. You can resize the image dimensions, change the canvas size, or export the image with optimized format settings. For even smaller files, you can finish the process with an online tool such as Lynote.
1. Resize Image in Krita
The most common way to compress an image in Krita is to reduce its pixel dimensions. A smaller image usually means a smaller file, especially if the original artwork is much larger than needed. This is the best first step when your image is going online.
To resize image in Krita, open your file and go to Image > Scale Image to New Size. This is the main Krita resize image option for changing the actual image dimensions. You can enter a new width or height, and Krita will adjust the other value if the aspect ratio is locked.
If you are wondering how to resize an image in Krita, start by checking where the image will be used. A website image may only need to be 1200 pixels wide, while a print image may need much higher resolution. Resizing too aggressively can make the image look soft, so choose the smallest size that still fits your purpose.
This method also answers common searches like how to resize image in Krita, how to resize an image on Krita, and krita how to resize image. The key is to scale the image itself, not just zoom out on the screen. Zooming changes your view, but scaling changes the real pixel size of the file.
2. Resize Image in Krita Without Losing Quality
If your goal is to resize image in Krita without losing quality, avoid making the image much larger than the original. Enlarging an image forces Krita to invent extra pixels, which can create blur or softness. Reducing size is usually safer than increasing size.
For better results, use a high-quality scaling filter when available. Krita gives you interpolation options during scaling, and smoother filters often work better for illustrations and detailed artwork. This helps when you need krita resize image without losing quality.
Another important tip is to keep your original file untouched. Save a copy before resizing, then export a compressed version from that duplicate. This gives you a clean backup if you later need a larger version of the image.
When people search how to resize image in Krita without losing quality, they often expect perfect compression. In practice, every size reduction removes some image data, but the loss can be visually unnoticeable. The goal is not zero change; the goal is a smaller file that still looks sharp.
3. Change Canvas Size in Krita
Sometimes the issue is not the image scale but the canvas area. If your artwork has extra blank space around it, changing the canvas can reduce the final exported image size. This is especially useful for icons, product graphics, stickers, and transparent PNG files.
To learn how to change canvas size in Krita, go to Image > Resize Canvas. This option changes the working area without necessarily scaling the artwork itself. You can crop extra space, expand the canvas, or reposition the image inside the new boundary.
Canvas resizing is different from image scaling. Image scaling changes the size of the artwork, while canvas resizing changes the available space around it. If your image has large transparent or empty margins, reducing the canvas can help compress an image in Krita without making the actual artwork smaller.
Before applying the change, preview the placement carefully. Make sure important edges, shadows, signatures, or design elements are not cut off. Once the canvas is clean, export the file again and compare the new size.
Best Export Settings to Reduce File Size in Krita
After resizing, the export format has a major effect on file size. Krita supports common formats like PNG, JPEG, and WebP, and each one is better for different use cases. Choosing the wrong format can make the file much larger than necessary.
Use JPEG for photos, paintings, and images without transparency. JPEG compression can greatly reduce file size, but very low quality settings may create visible artifacts. A quality setting around 75-85 is often a good balance for web images.
Use PNG when you need transparency or crisp graphic edges. PNG files can be larger, especially for detailed images, but they preserve clean lines well. If your PNG is still too large after export, you can use Lynote to compress it further.
Use WebP when your platform supports it. WebP usually gives smaller file sizes than JPEG or PNG while keeping strong visual quality. If your goal is to compress an image in Krita for a website, WebP is often one of the best final formats.
Use Lynote to Compress the Exported Krita Image
Krita gives you control over editing and export, but an online compressor can make the final file even lighter. After exporting your resized image, upload it to Lynote Image Compressor. This is useful when you want a quick final pass without reopening Krita.
Lynote can help reduce JPG, PNG, WebP, and HEIC image size online. You can use it after your Krita resize image workflow to shrink the exported file for web pages, email attachments, or upload limits. This makes the process easier when Krita alone does not reduce the file enough.
The workflow is simple. First, resize image Krita settings based on your target width and height. Next, export the image in the best format. Finally, compress the exported file with Lynote and download the optimized version.
This extra step is especially helpful for users who search krita reduce file size but do not want to experiment with many export settings. Instead of guessing repeatedly, you can make a clean export and then let the compressor handle the final optimization. It keeps the process simple and predictable.
Recommended Workflow for Smaller Krita Images
Start by deciding where the image will be used. A blog image, profile image, online store image, and print artwork all need different dimensions. This prevents you from resizing too much or keeping the file unnecessarily large.
Then use how to resize image Krita steps inside the software. Go to Image > Scale Image to New Size, enter the right dimensions, and keep the aspect ratio locked. This helps avoid stretched or distorted images.
Next, check whether the canvas has extra empty space. If it does, use Resize Canvas to remove the unused area. This is a simple way to compress an image in Krita without damaging the artwork.
Finally, export the image and run it through Lynote if you need a smaller file. This combined method gives you control in Krita and convenience online. It works well for artists, bloggers, designers, students, and anyone preparing images for the web.
Common Mistakes to Avoid
Do not confuse zooming with resizing. Zoom only changes how the image appears inside Krita, while resizing changes the actual file dimensions. If the exported image is still too large, you probably changed the view instead of the image size.
Do not export every image as PNG by default. PNG is useful, but it can create very large files for detailed paintings or photos. JPEG or WebP may be better when transparency is not required.
Do not overwrite your original Krita file. Keep the original .kra file and export compressed versions separately. This gives you freedom to make edits later without losing quality.
Do not reduce dimensions blindly. If the image looks blurry after resizing, go back to the original and choose a larger size. Good compression is about balance, not just making the smallest possible file.
Conclusion
Learning how to compress an image in Krita is mostly about using the right resize, canvas, and export settings. For the best results, resize the image in Krita, remove unnecessary canvas space, export in the right format, and use Lynote Image Compressor for final optimization. This gives you smaller files while keeping your image clean, sharp, and ready to share.

Written by Janet L. Harris
AI Writing Specialist
Janet reviews AI detectors and humanization tools, with a focus on accuracy, limitations, and responsible use. View all articles →